
The complete guide
The Parent's Guide to Choosing a Kids Tool Set
Why your toolbox is the most popular toy in the house
There is a stage, usually somewhere around three, when a child decides that the interesting objects are the ones adults use. Not the toys. The tape measure. The screwdriver in the kitchen drawer. The drill that lives in the cupboard and makes the loud noise.
This is not a problem to be solved. It is a sign of exactly the kind of learning you want. The child is watching what you do, working out why you do it, and trying to copy the steps. The trouble is that a real tool is heavy, sharp, or expensive, and handing one over is not an option.
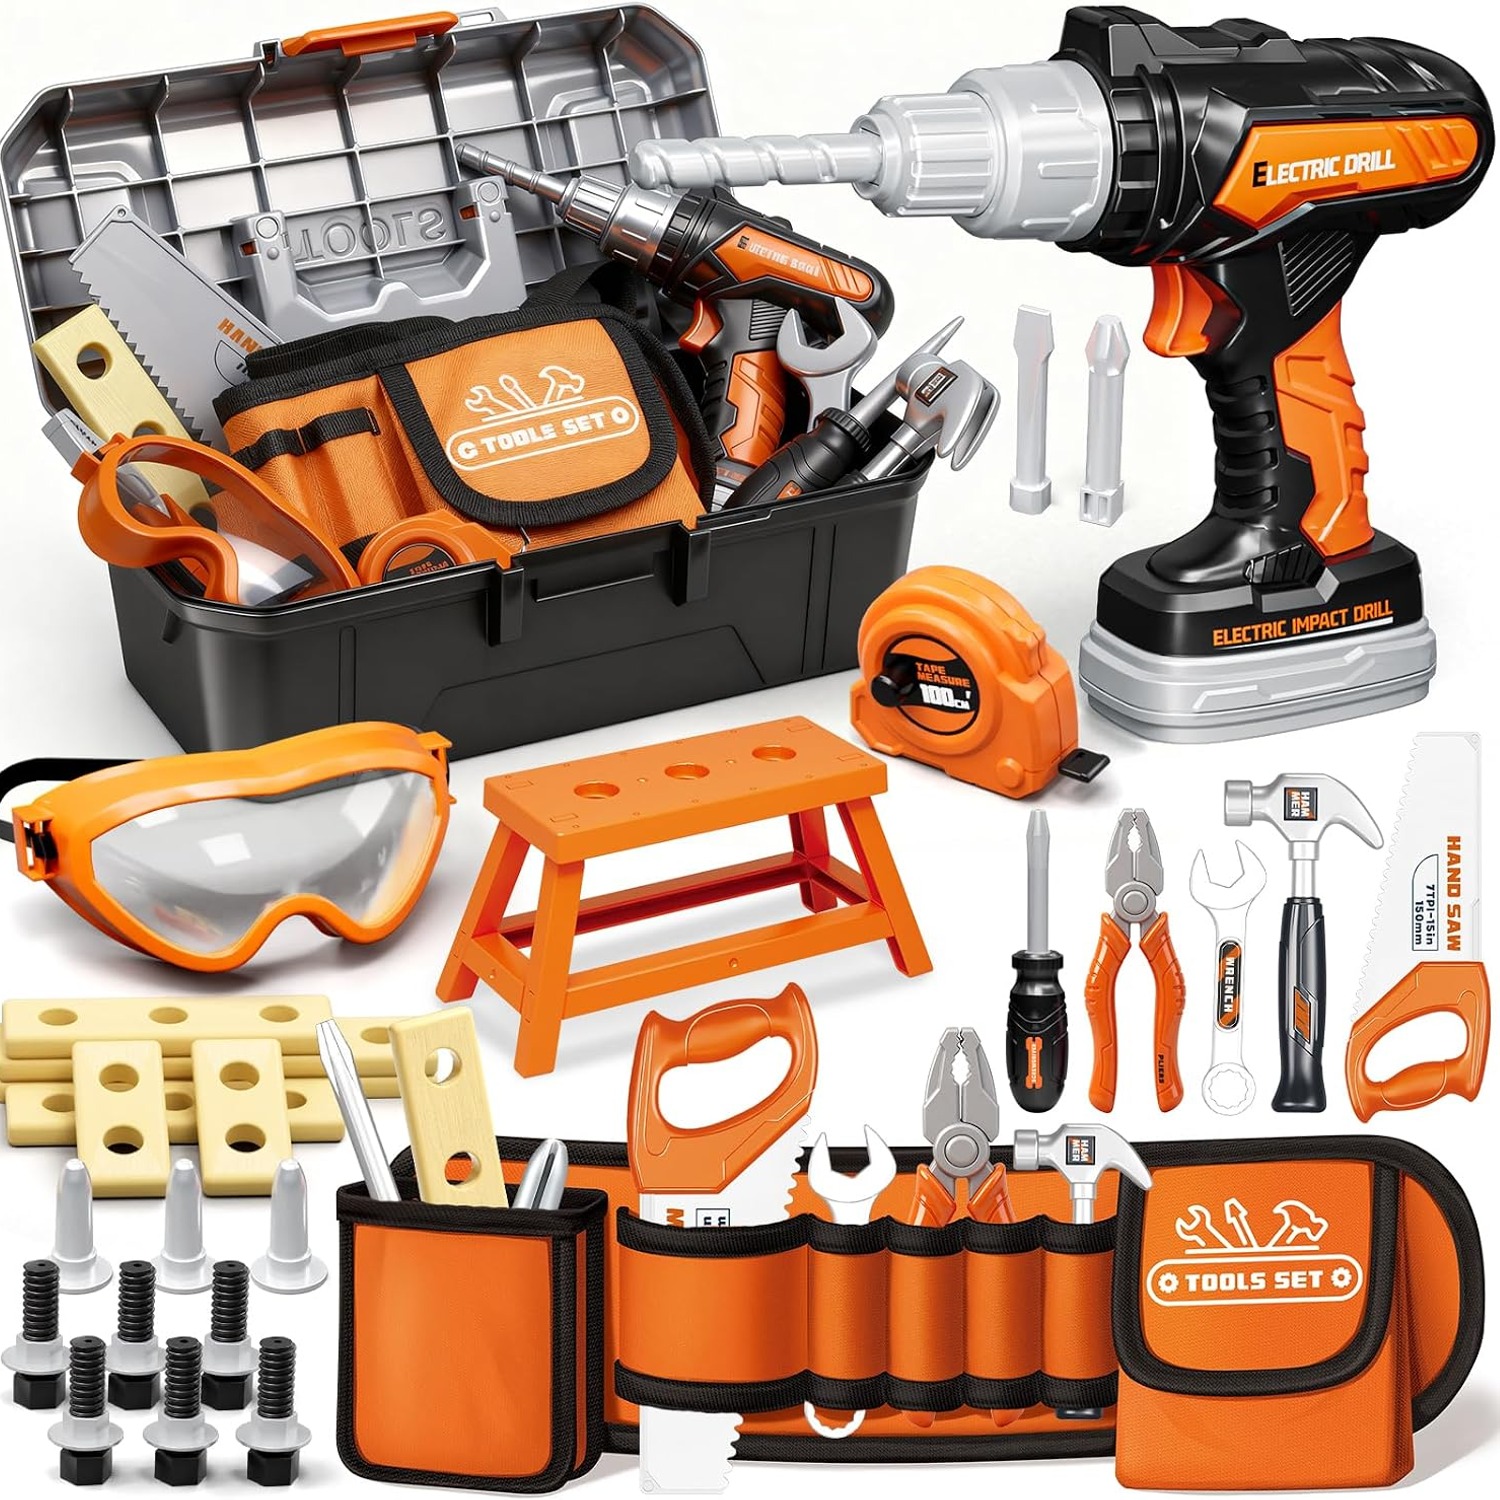
A kids tool belt set 50 piece kit solves that neatly. It gives the child the same shapes, the same sequence of actions, and the same sense of having a job to do, with plastic parts that cannot cut anything. The game stays serious in the child's head while being safe in yours.
How a construction play set actually works
Strip away the packaging and a set like this is doing three things at once.
The first is role play. The belt, the glasses and the toolbox are costume as much as equipment. When a child buckles on a belt, they step into a character, and that shift is where language and storytelling happen. Listen to a four year old with a tool belt on and you will hear them narrating. "I have to fix this bit first." That running commentary is vocabulary practice disguised as play.
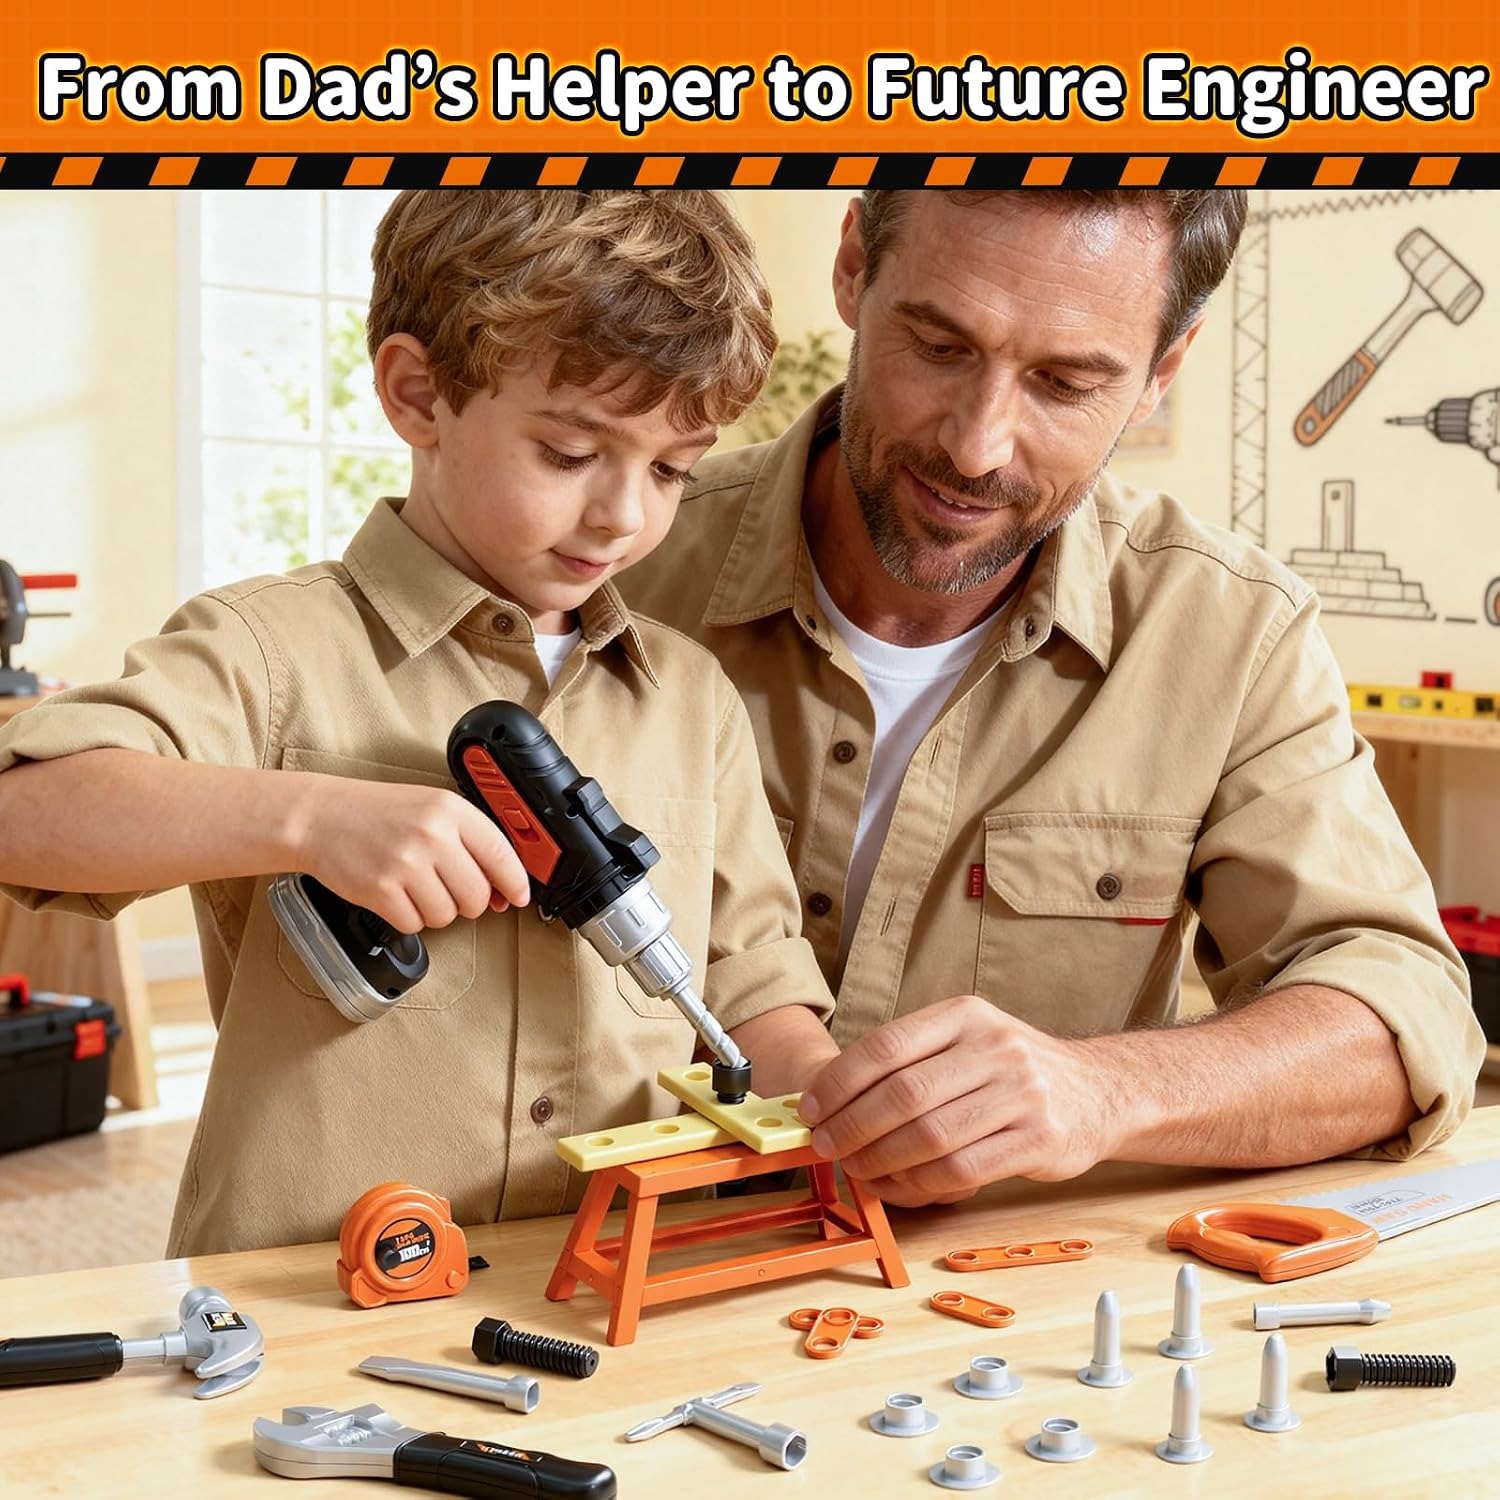
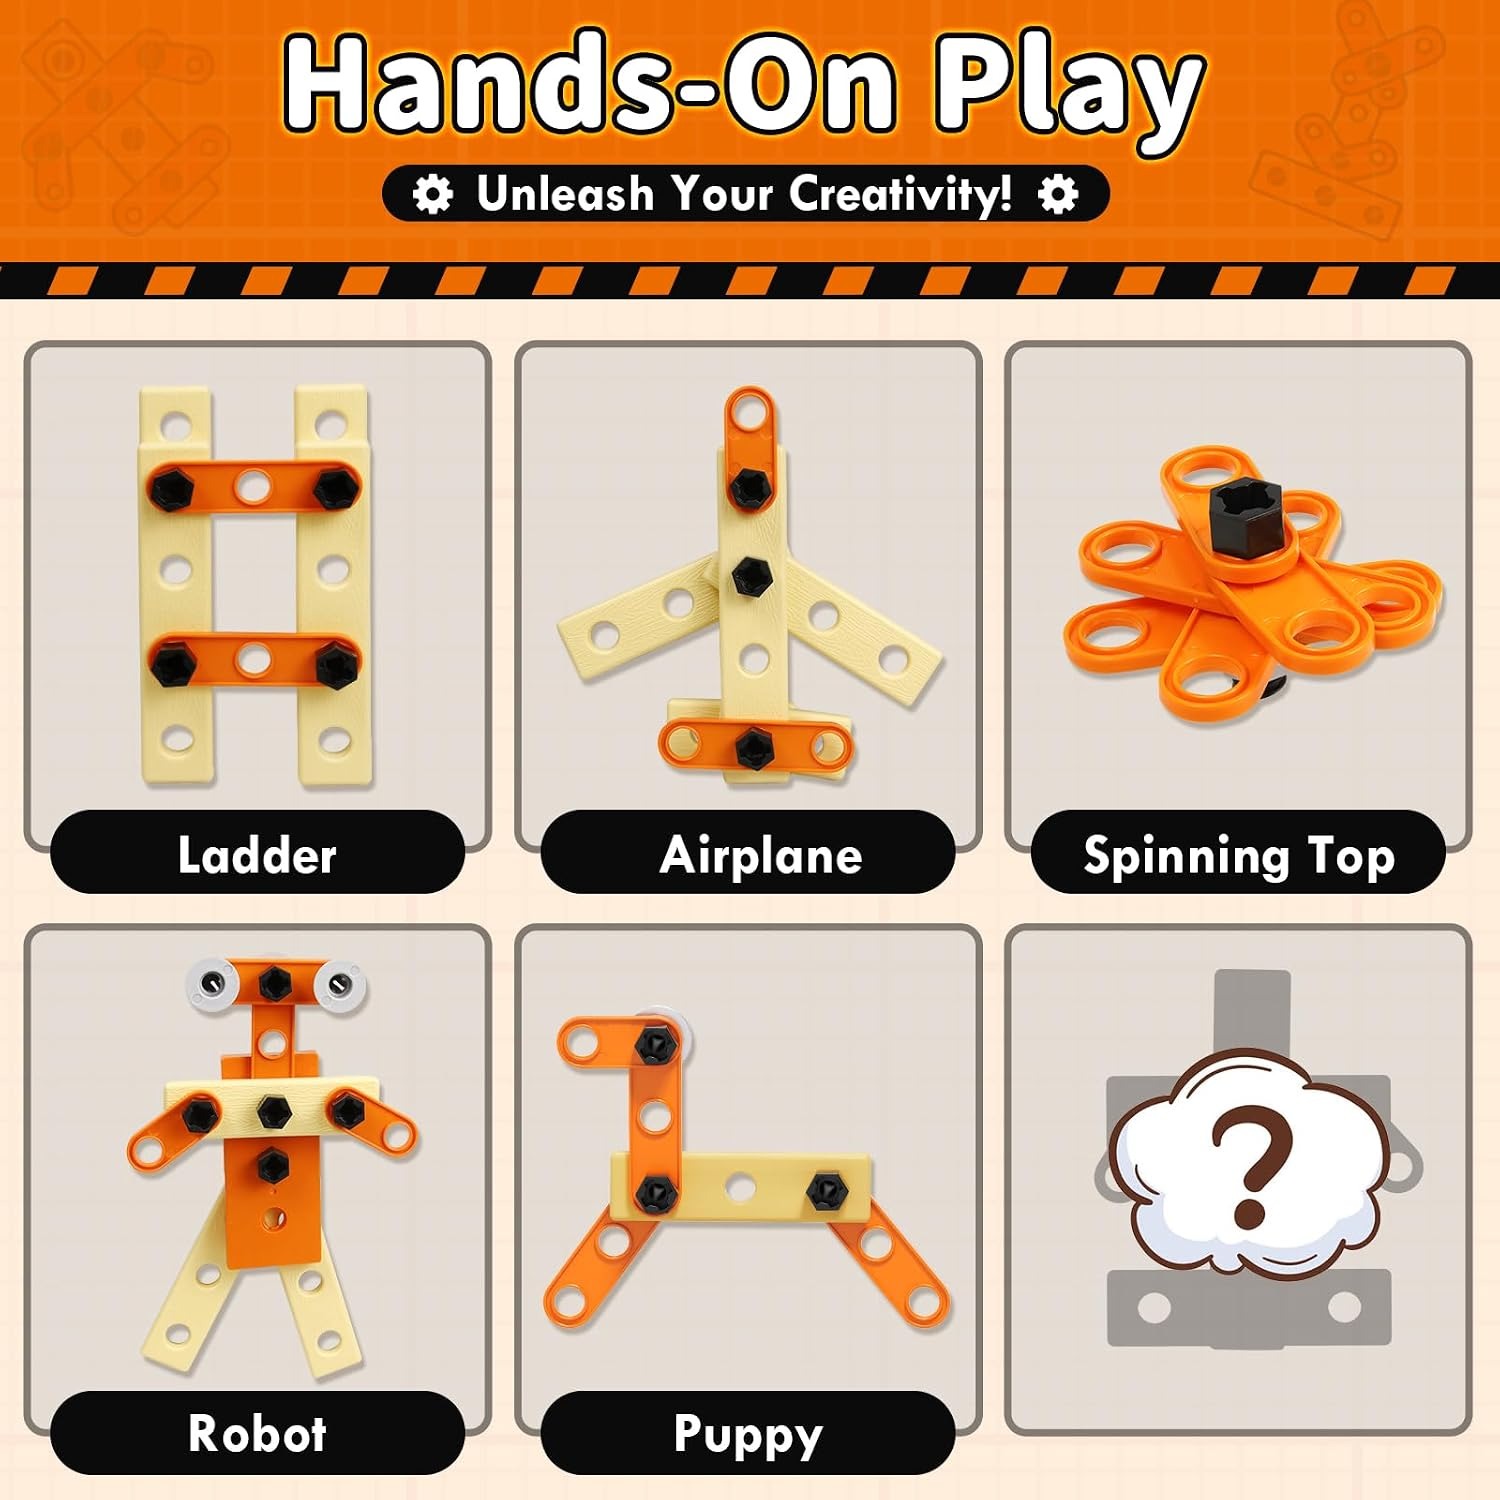
The second is manipulation. Screws, nuts, perforated strips and a screwdriver with two heads give small fingers real work. Turning a screw clockwise while holding a strip steady with the other hand is harder than it looks when you are three. It uses the same pincer grip and wrist rotation that writing and cutting will need later. Nobody has to call it a learning activity for it to count as one.
The third is cause and effect. Push a screw through a hole, add a nut, tighten it, and two loose pieces become one solid piece. Undo it and they come apart again. That loop is quietly satisfying, and it is the reason this kind of toy survives past the first week while a single-use gadget does not.
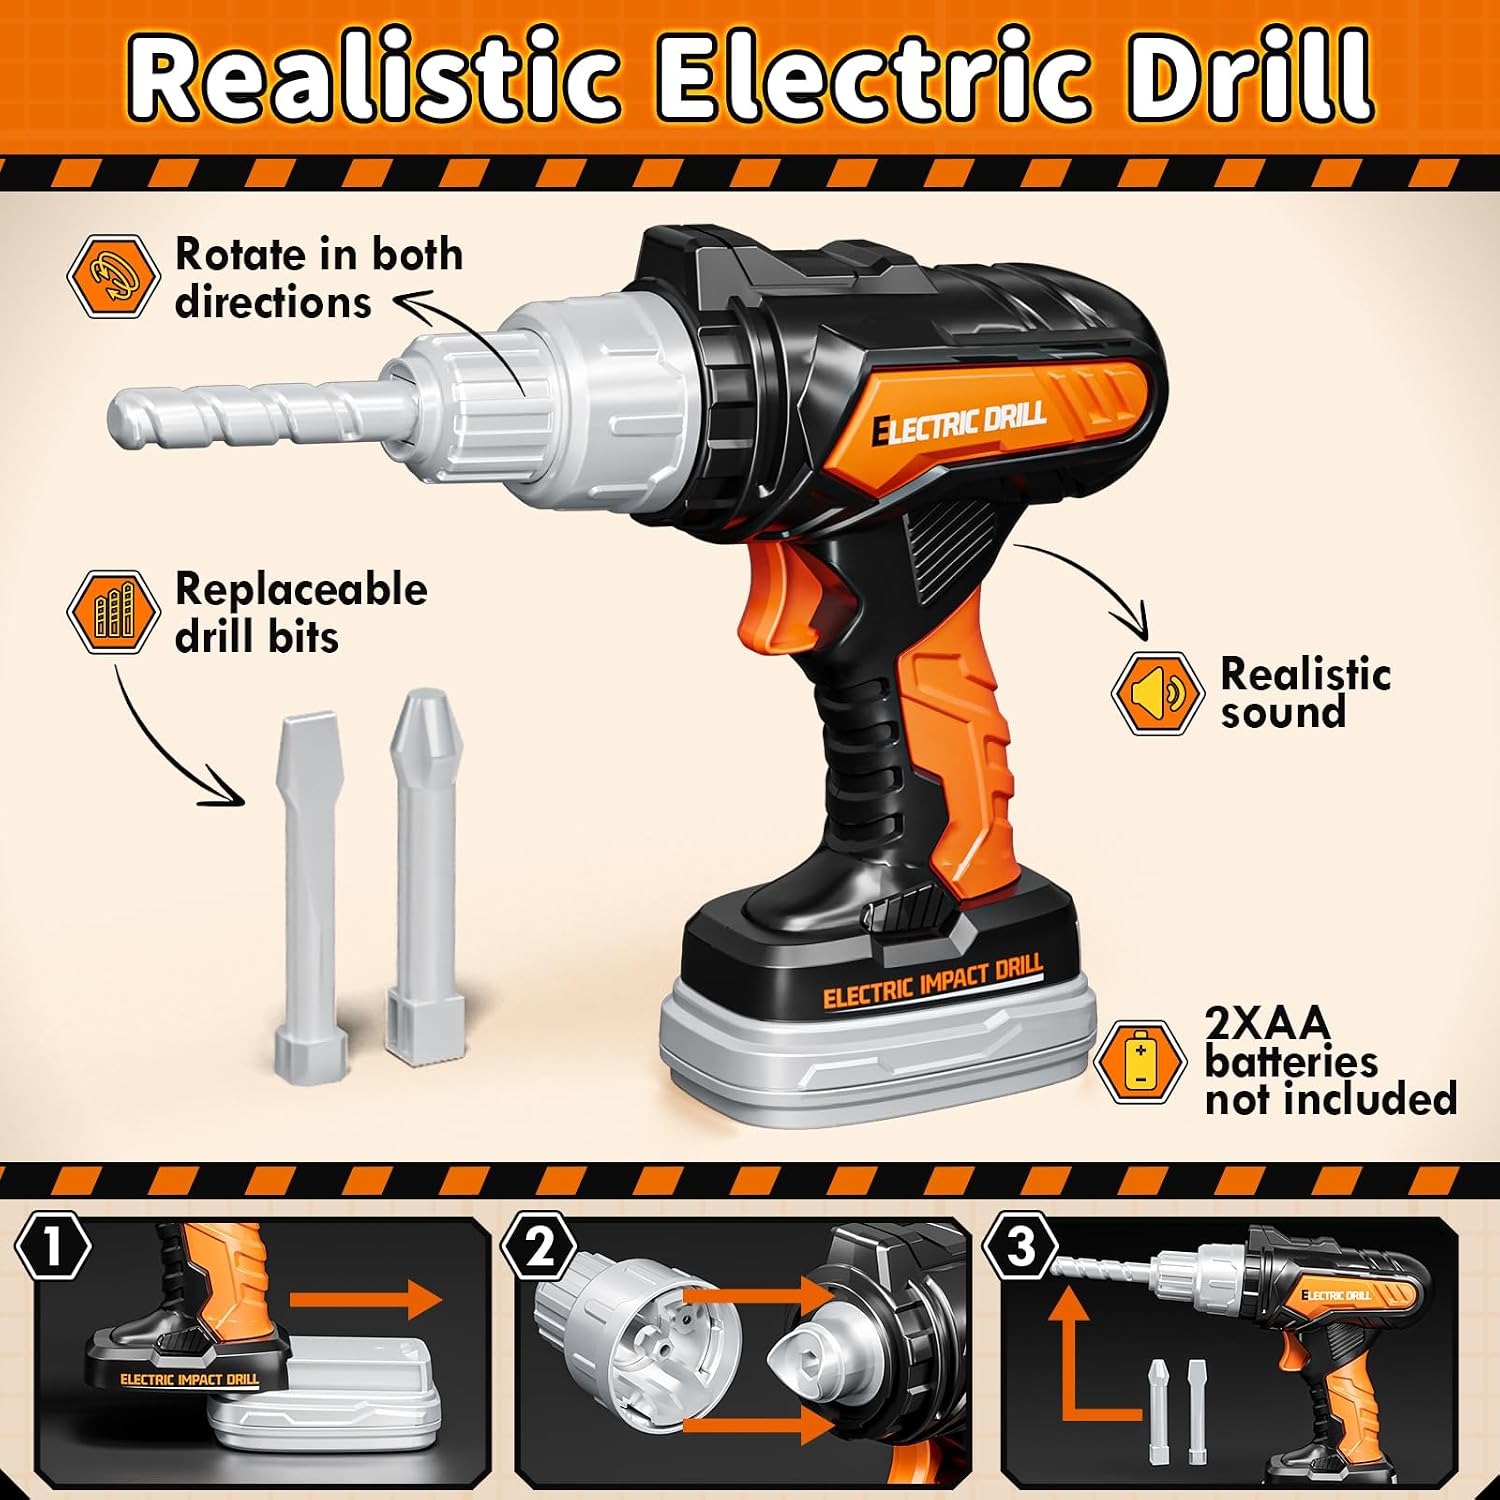
The toy drill sits across all three. It spins, it makes a sound, and it drives the plastic screws into the strips. It is not powerful and it does not cut, but it is convincing, and convincing is what matters when a child is pretending.
Who it suits
The recommended range here is 3 years and up, with the manufacturer stating 36 months to 12 years. Be realistic about that upper number. A ten year old is not the target buyer. The real zone is roughly three to six.
At three, expect mostly imitation. Your child will wear the belt, carry the box, point the drill at the wall and announce they are fixing it. Building anything structured will take help.
At four and five, the building starts to stick. They will line up holes, choose the right fastener and get frustrated when it does not go together, which is the useful part. This is also when a set like this doubles as one of the better fine motor skill toys you can leave out on a rainy afternoon.
At six and up, interest usually shifts towards building something specific, often alongside blocks or other construction toys. The set becomes a prop in a bigger game rather than the whole game.
It suits any child, full stop. The imagery on construction toys tends to lean one direction, but measuring, tightening and problem solving are not boy skills. Plenty of parents buy this as a straightforward birthday gift for a 4 year old without thinking twice about it.
It is less suitable if your child still mouths small objects. Six screws, six nuts and three nails are small parts. If a younger sibling is crawling around, this is a table-height toy, not a floor one.
How to choose between tool sets
If you are comparing options, a few things separate the sets that last from the ones that get abandoned.
Count the fasteners, not the total pieces. A set that advertises a big number but gives you two screws has nothing to build with. What keeps a child going is having enough screws, nuts and connecting strips to assemble something, take it apart and try a different shape. Six screws, six nuts and twelve strips is a workable amount for a preschooler.
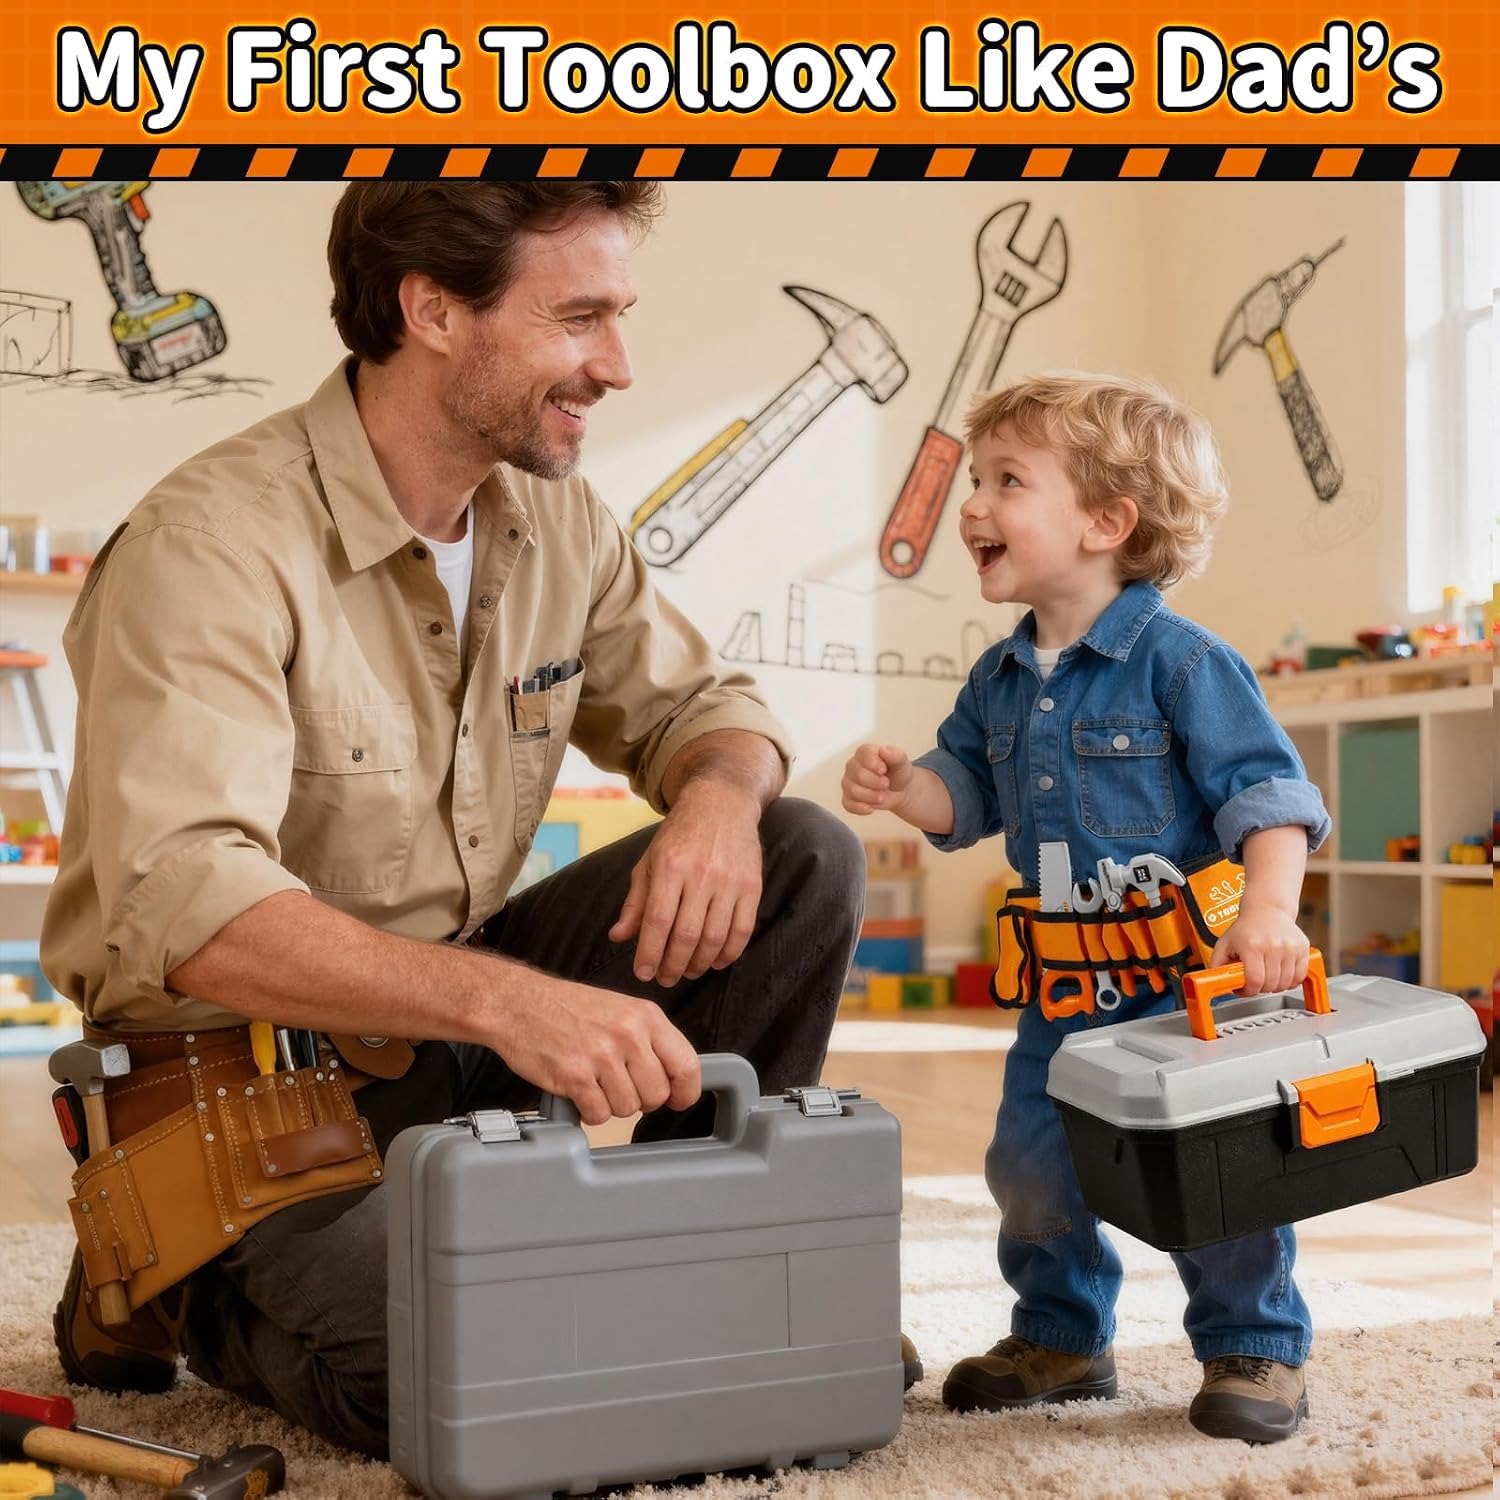
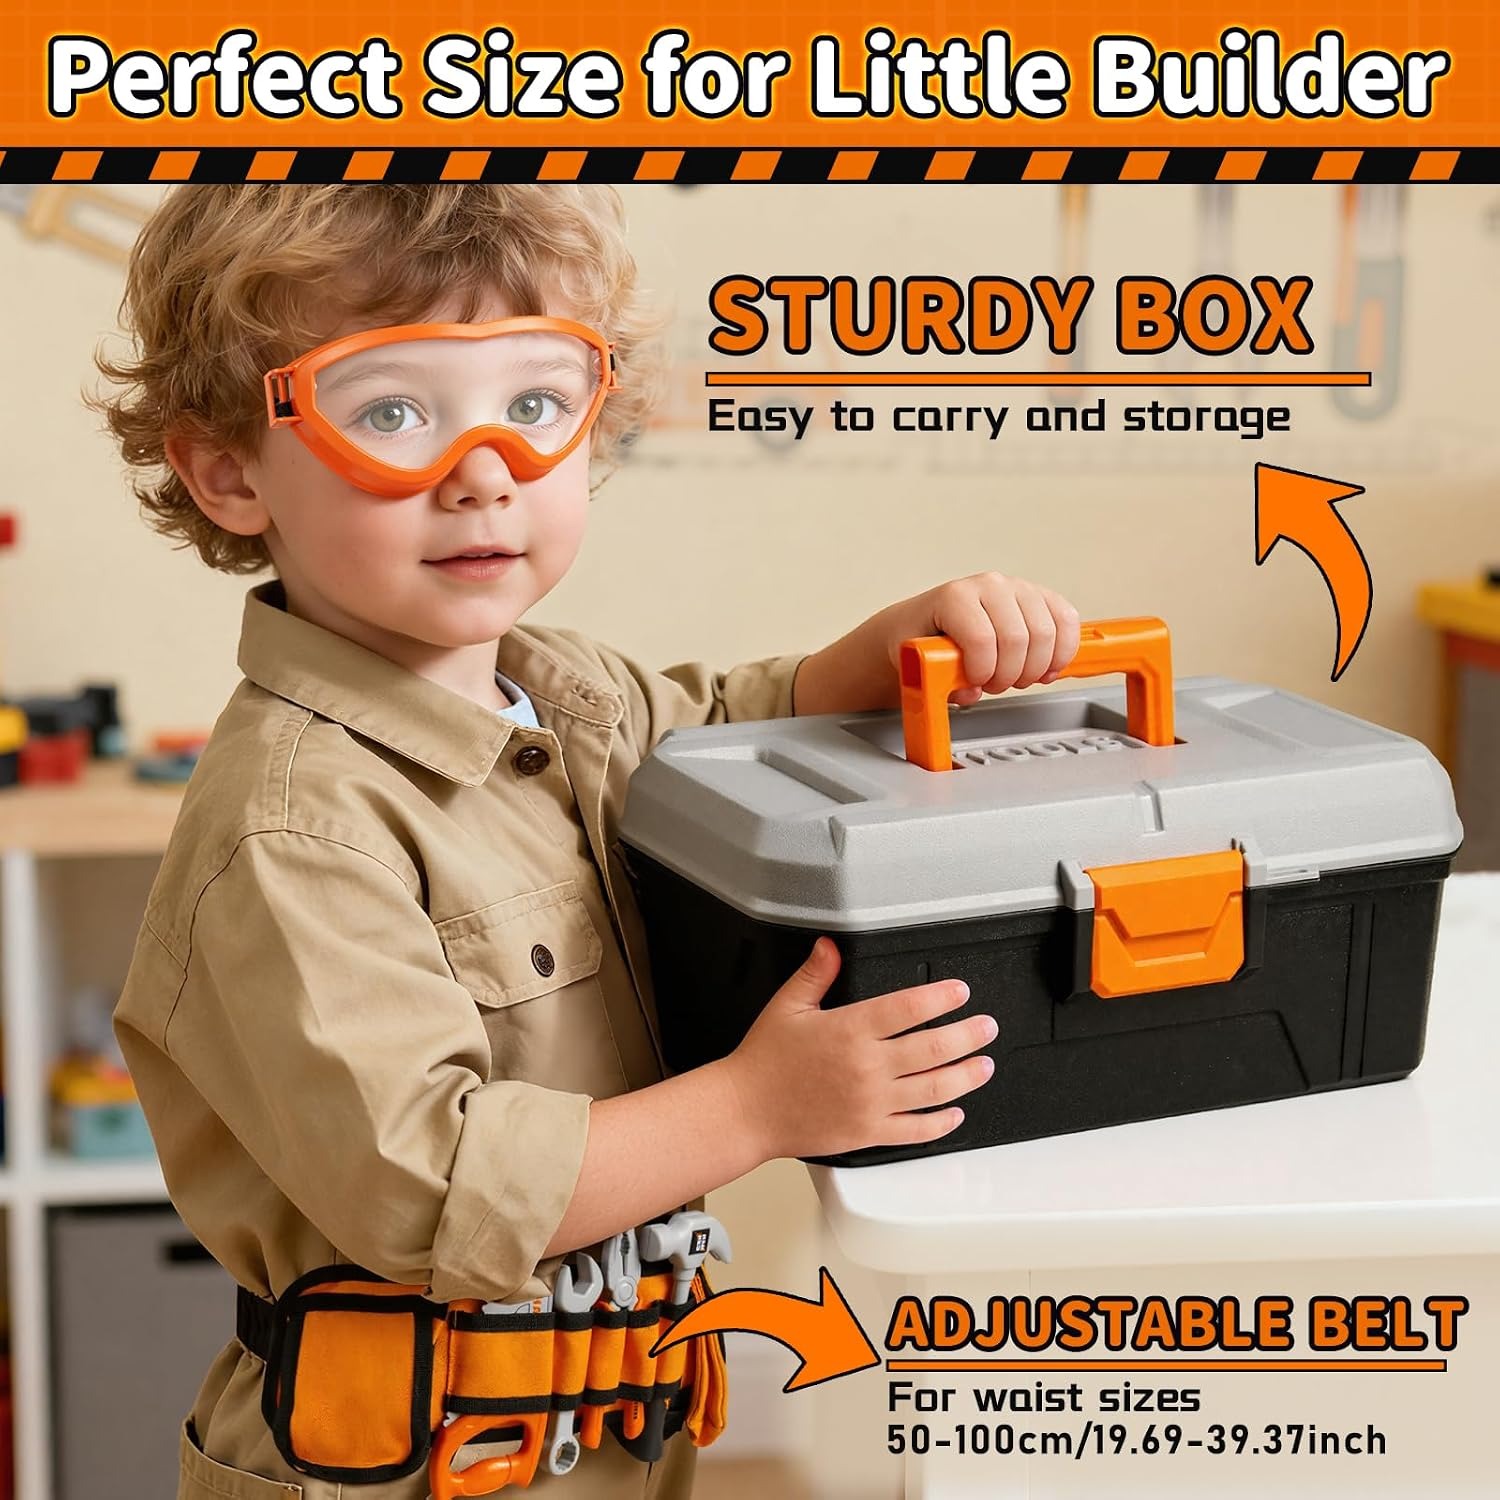
Check whether the tools go with the child. A workbench stays in one room. A belt and a carry box travel, and travelling matters because children relocate their play constantly. This is the practical difference between the best kids tool belt and a bench that ends up as a shelf.
Look at how the drill behaves. A drill that spins and makes noise does the job. One that just looks like a drill gets dropped within a day, because the pretending collapses the moment the child notices it does nothing.
Think about storage before you buy. Fifty loose pieces with no home is a toy you will grow to resent. A box with a handle solves it, and it also makes the set portable for a trip to a grandparent's house.
Finally, check the finish. Rounded edges and no sharp points are the baseline. Plastic that feels thin at the joints will snap when a child stands on it, and children stand on everything.
Getting the most out of it at home
Give it a surface. A low table or a rug corner with a bit of space works far better than the middle of a busy room. Children concentrate longer when the build has a defined area.
Start with the chair. There is a small chair project and an instruction sheet in the box, and following it once teaches the sequence of screw, nut, tighten. After that, let the instructions go. The better sessions are the invented ones.
Name the tools out loud. Hammer, pliers, wrench, tape measure. Children pick up tool names fast when they are holding the object, and it is a painless way to add words.
Build alongside them for the first few sessions. Not doing it for them, just working on your own piece nearby. Modelling the actions is more effective than explaining them, and the shared activity is often what the child remembers.
Pack it away together every time. Counting the screws back into the box takes two minutes and saves you from a half-empty set in a month.
Care and keeping it tidy
Plastic tools need almost nothing. Wipe them down with a damp cloth and a little mild soap when they get grubby, then dry them before they go back in the box. Skip the dishwasher and the washing machine entirely, including for the belt. Keep the set out of long periods of direct sun so the orange stays orange rather than fading to a dull cream.
The small parts are the only real maintenance issue. Screws, nuts and nails are the pieces that vanish. A quick count at tidy-up time catches them early, while they are still on the rug rather than inside the sofa.
The belt should be stored flat or hung rather than scrunched at the bottom of a toy box, which helps the stretch stay even.
The short version
This is a 50-piece plastic construction set built around a toy drill that spins and makes sound, an adjustable belt with pockets, and a carry toolbox that holds the lot. It covers the tools a child recognises, plus enough screws, nuts and perforated strips to build, dismantle and build again.
It is rated from 3 years, weighs 0.9 kg, measures 30 x 15 x 12 cm boxed, and comes with a 1 year manufacturer warranty. The orange and black colourway reads as a workshop at a glance, which is half the appeal.
If you have a child who follows you around whenever you pick up a screwdriver, this gives them their own version of the job. That is really all there is to it, and for the three to six crowd, it is usually enough.