
The complete guide
Hydraulic Robot Hand Kits: A Buyer's Guide For Parents And Teachers
The problem with most "STEM" toys
Walk down any toy aisle and you will find a dozen boxes with STEM printed on the front. Most of them are ordinary toys with a science sticker. The child opens the box, plays for twenty minutes, and the thing ends up at the bottom of a cupboard. Nothing was learned, nothing was built, and the parent is left wondering what the extra money bought.
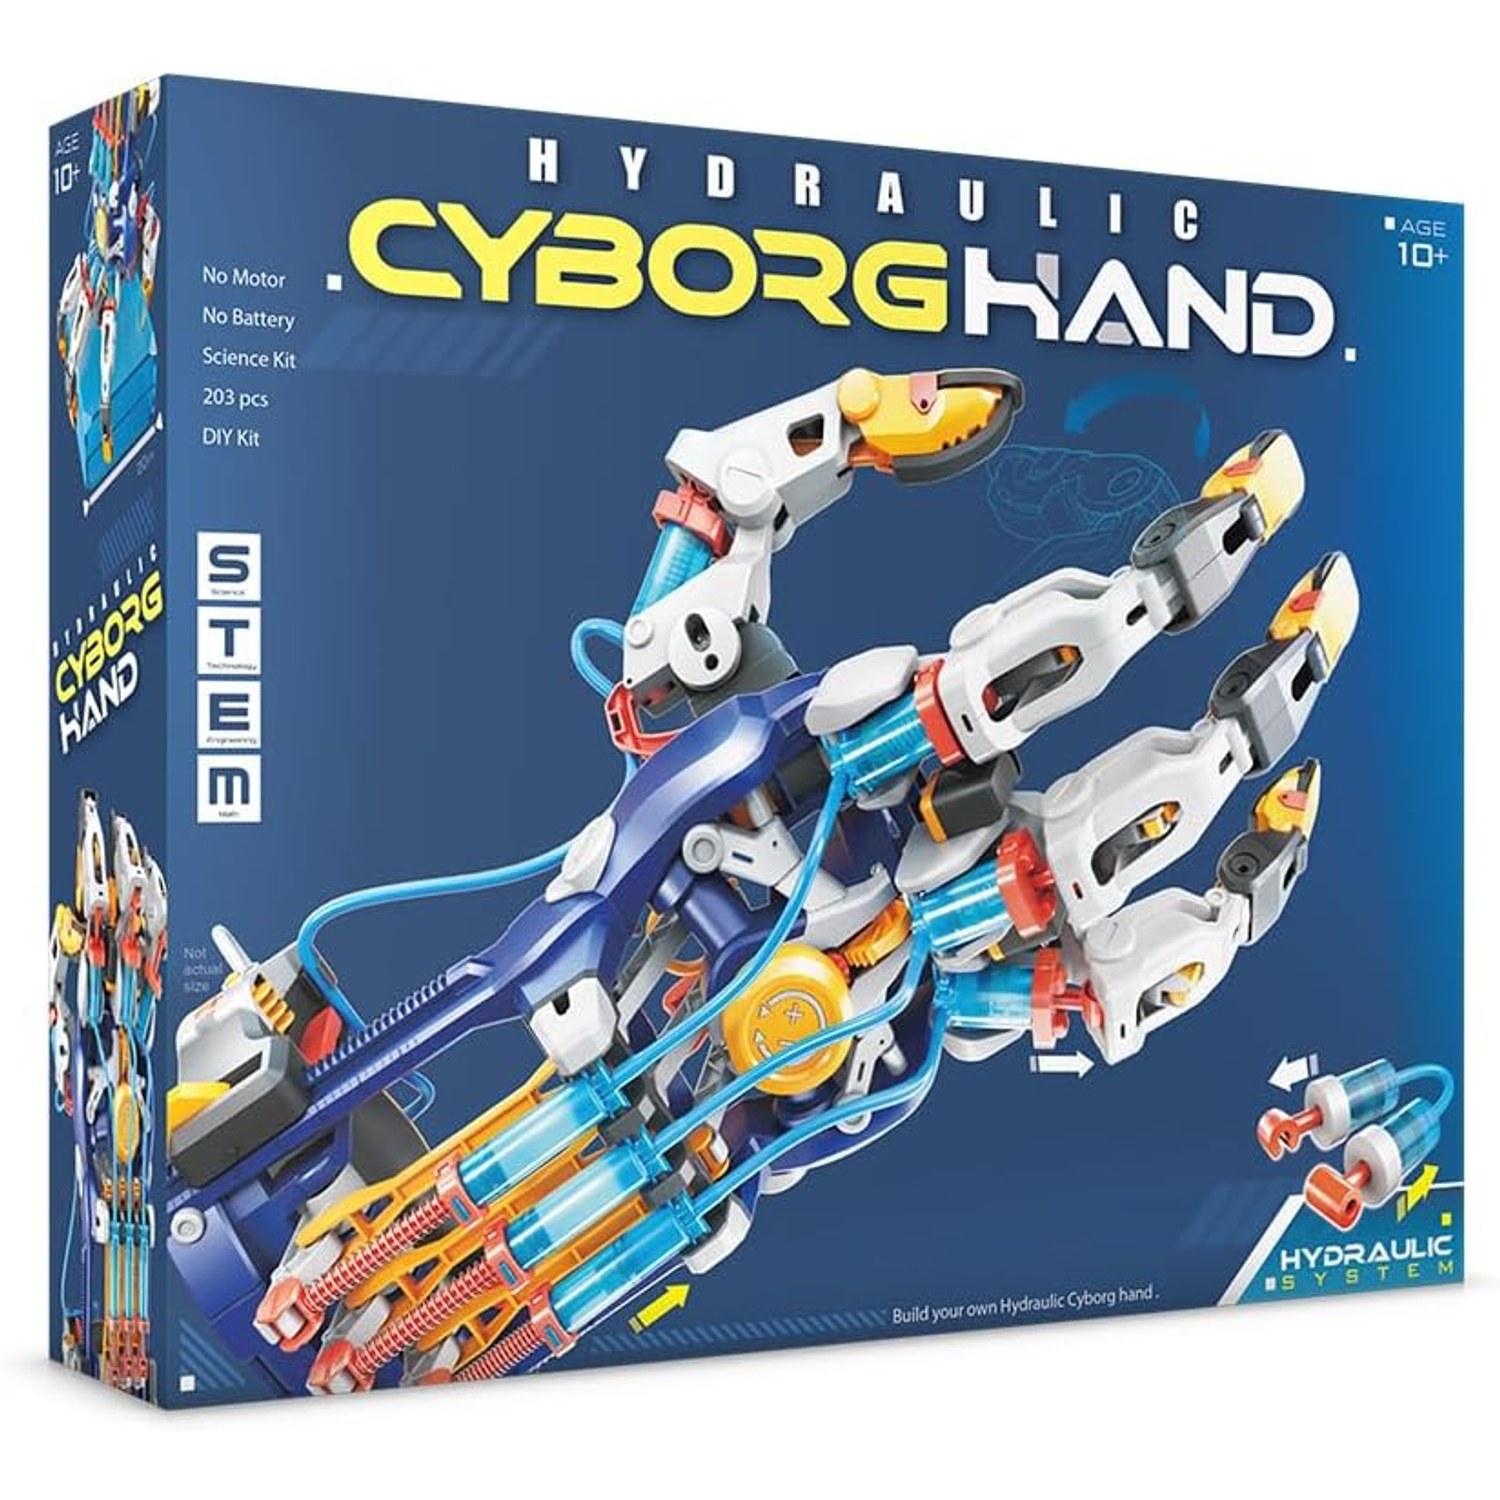
A hydraulic robot hand kit is a different proposition. There is no shortcut to the finished product. The box contains 203 separate pieces and a set of instructions, and the only way to get a working hand is to build one. That friction is the feature. Every joint a child screws together is a joint they understand, and when the fingers finally curl on command, the satisfaction is earned rather than handed over.
It also solves a specific teaching problem. Hydraulics are abstract on paper. Force transmitted through an incompressible fluid sounds like a sentence from a textbook, because it is. Hand someone a syringe connected by tube to another syringe, let them push one and watch the other move, and the idea lands in about four seconds. That is why this style of kit keeps turning up in classrooms and on home-school lists.
How the hydraulics actually work
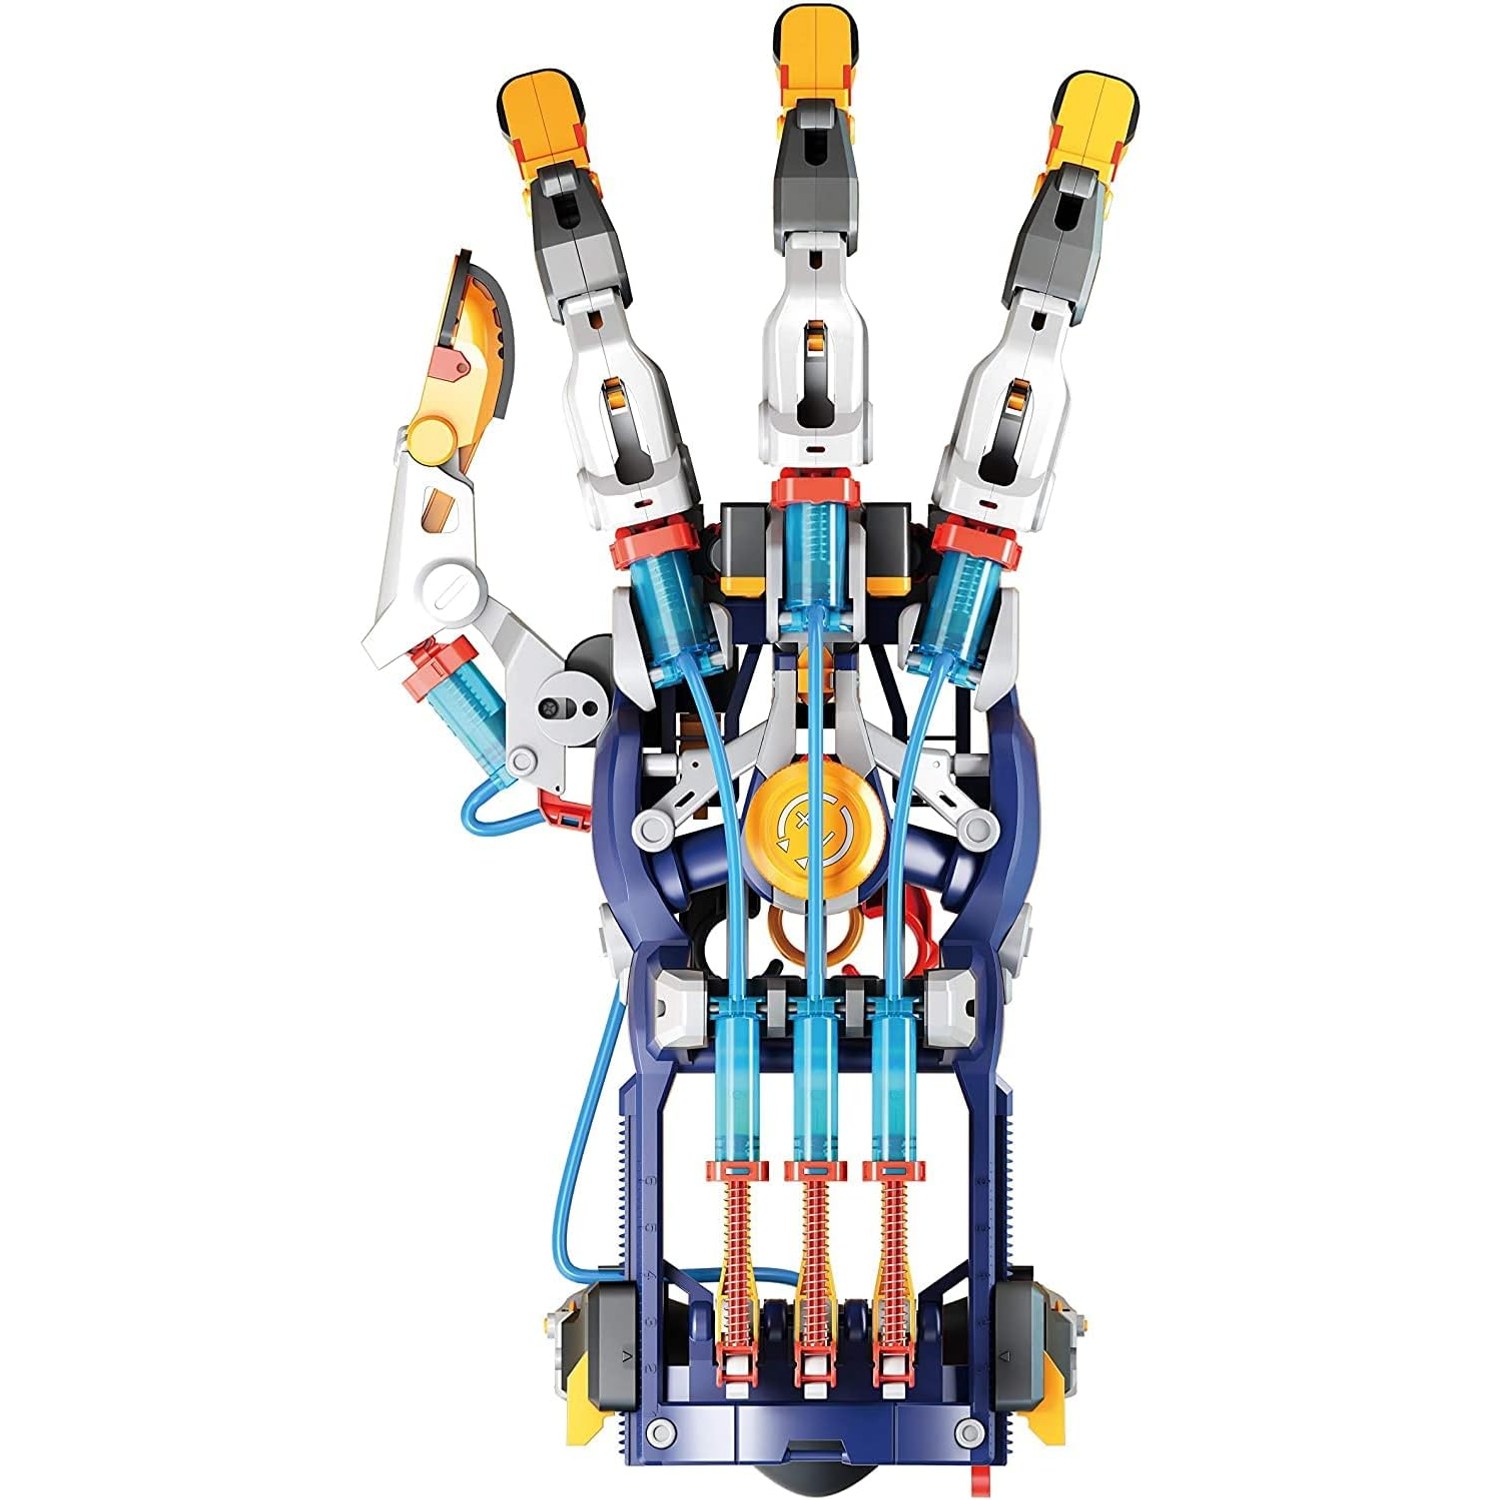
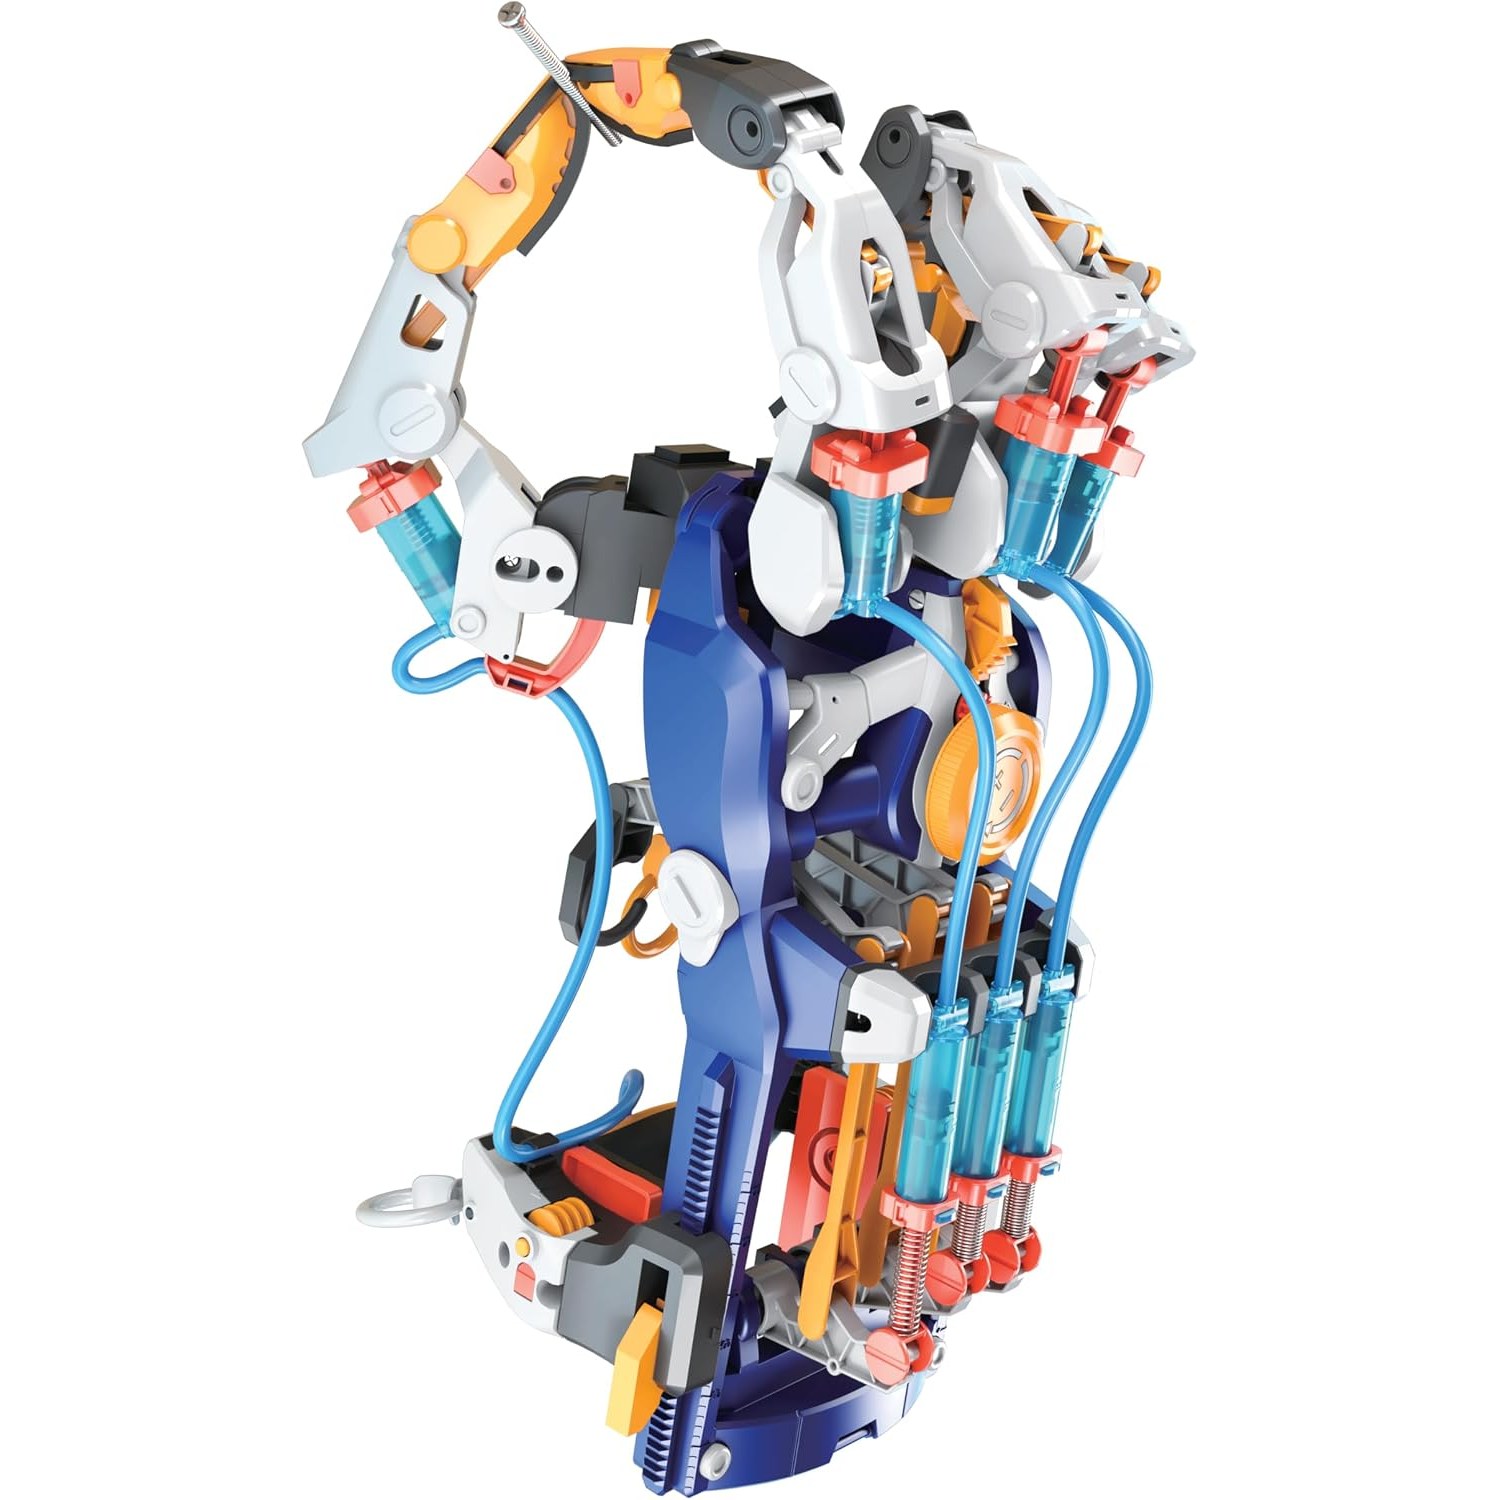
The mechanism inside this kit is simple enough to explain at the kitchen table. You fill a syringe with water and connect it by flexible tubing to a second syringe. Push the plunger on the first one and the water has nowhere to go except into the second, which pushes its own plunger out. Force in one place, movement in another, with no electrics involved anywhere.
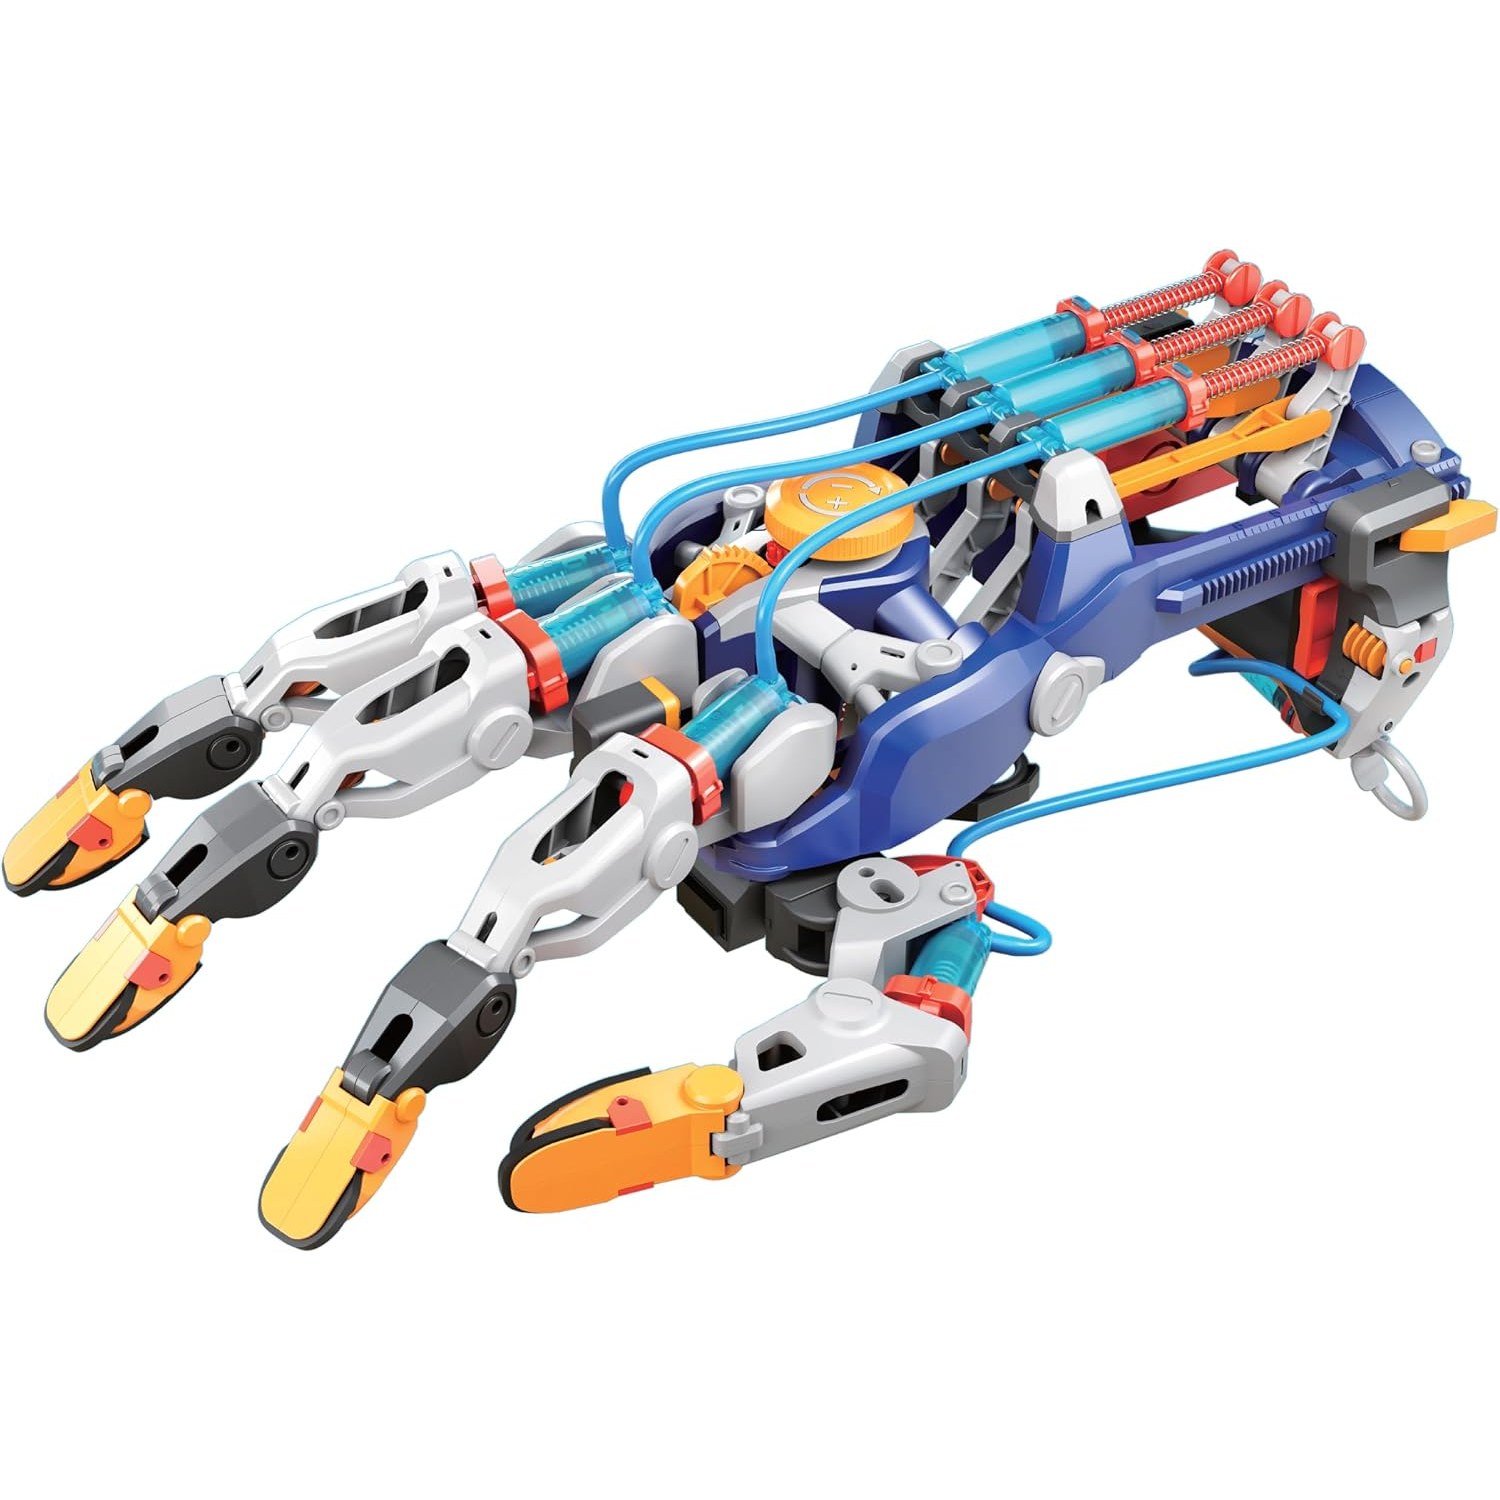
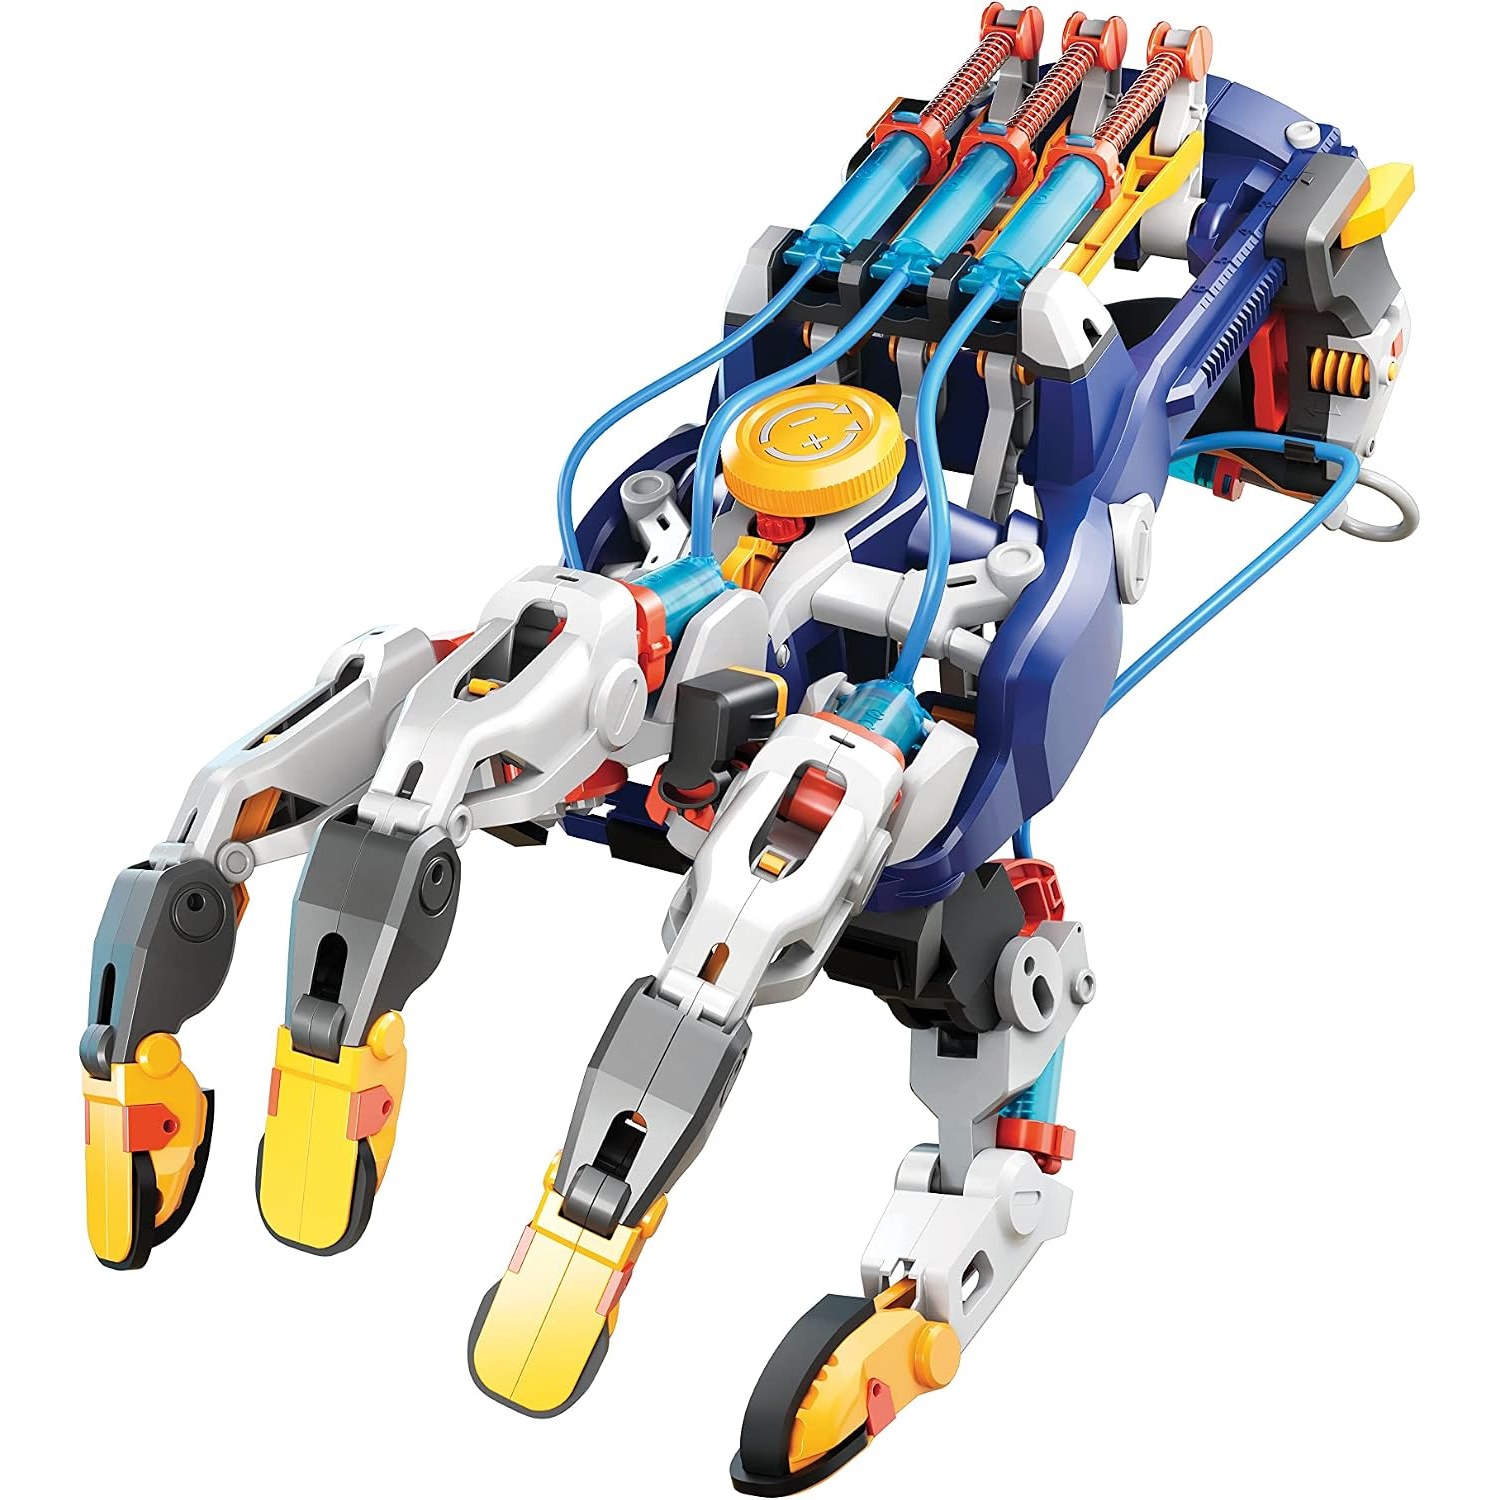
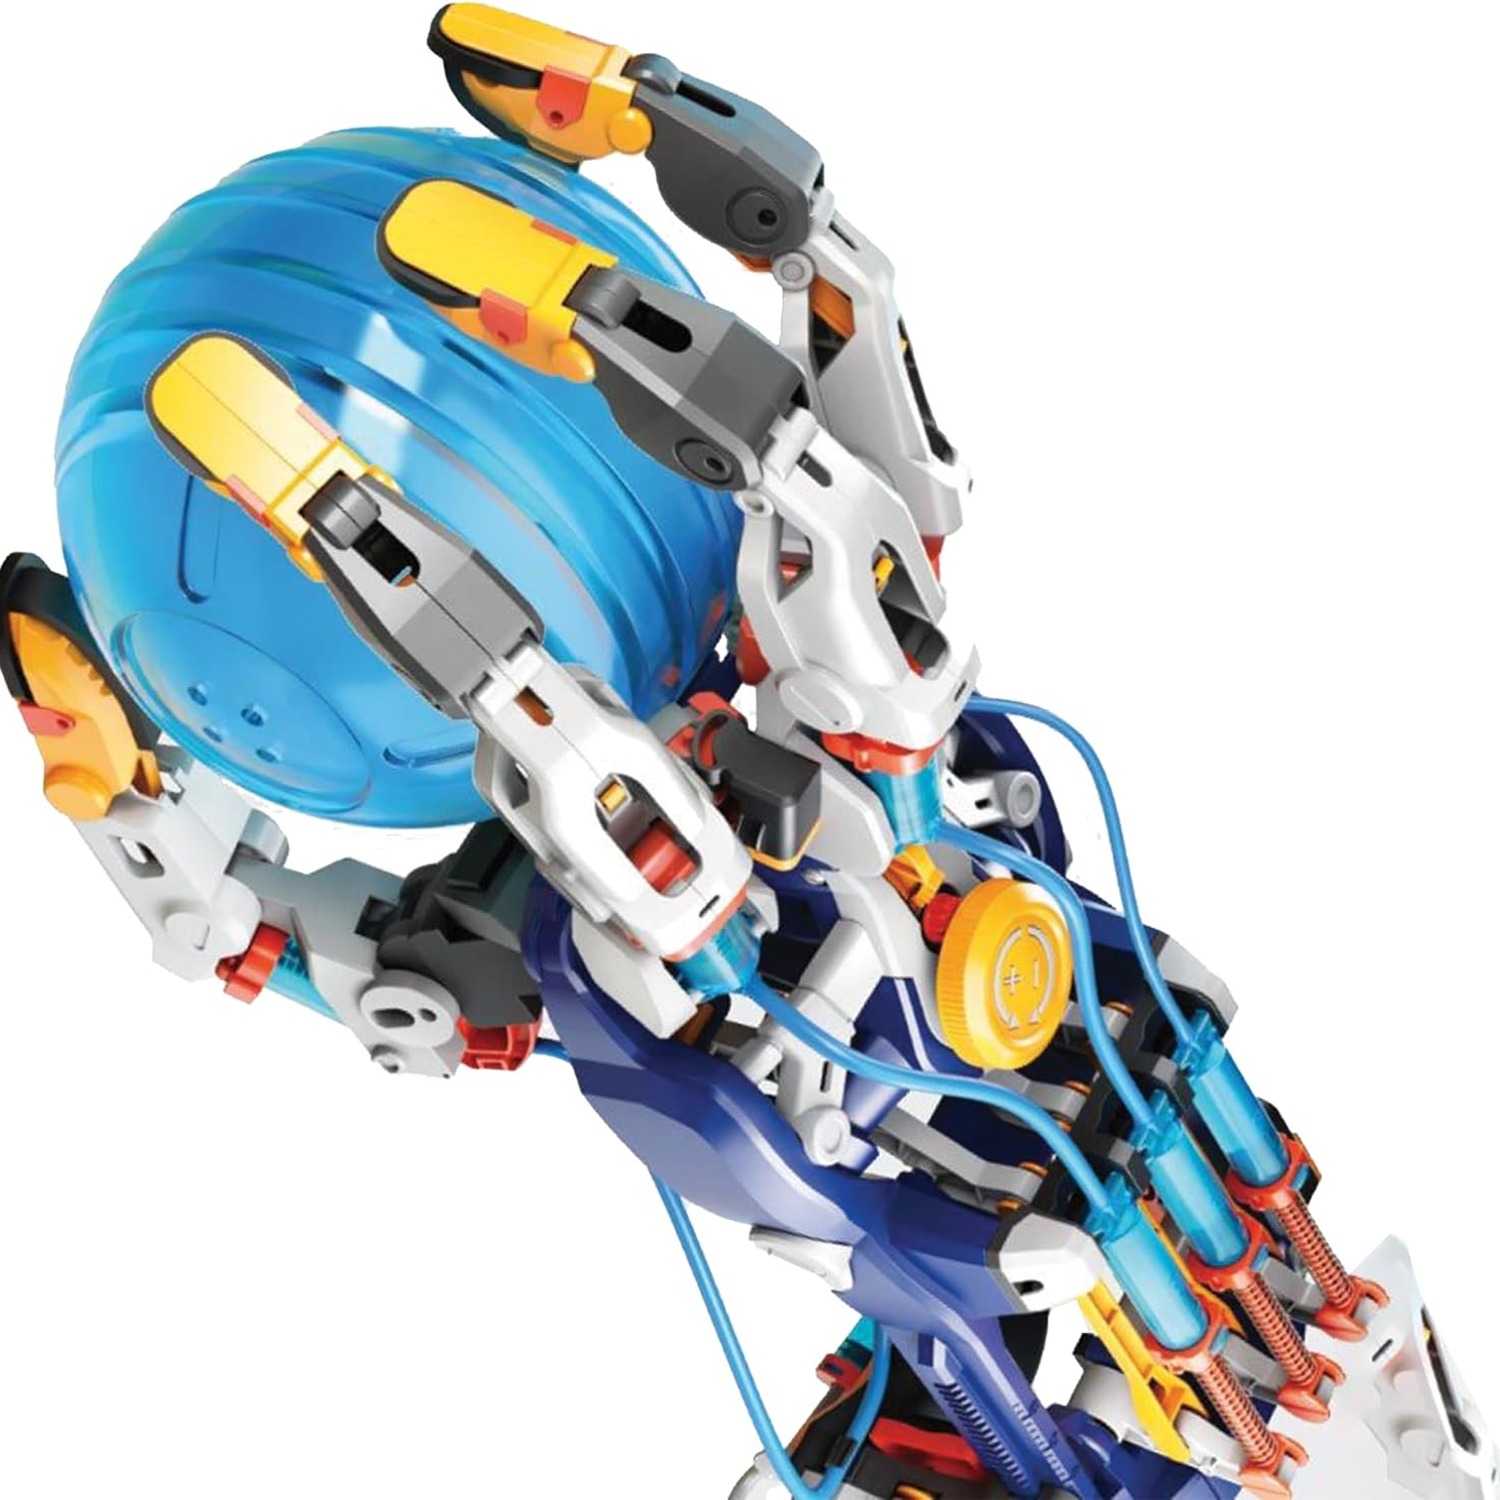
In the robot hand, each finger has its own syringe pair. The control syringes sit where your fingers rest, and the output syringes connect to linkages that pull the robotic fingers closed. Steel springs return the fingers to open when you release the pressure. Squeeze with your index finger and the robot index finger curls. It is direct and immediate, which is exactly why it reads as magic the first few times.
Two details catch everyone out. The first is air. Water does not compress, which is what makes hydraulics work, but air does. If you leave bubbles in the tubing, the fingers feel soft and slow because you are squashing air before you move any water. Purging those bubbles properly is a small job with a big payoff, and it teaches more about hydraulic systems than any diagram will.
The second is syringe size. Different diameters give different trade-offs between movement distance and force. A curious builder will spot this and start asking why. That question is mechanical advantage, one of the foundations of engineering, arriving uninvited because the kit made it interesting.
Who this kit suits
The manufacturer recommends ages 10 and up, and that number is sensible rather than cautious. The build involves small screws, flexible tubing that needs trimming, and a sequence of steps where getting ahead of yourself causes problems. A focused nine-year-old with an adult nearby will usually manage. A six-year-old will not, and will get frustrated trying.
It suits the child who likes taking things apart. If your kid has ever unscrewed the back of a remote control to see what is inside, this is the right box. It also suits children who have outgrown simple block sets but are not ready for soldering irons and microcontrollers. There is a gap in the middle of the construction-toy market, and mechanical kits like this one sit neatly in it.
Teachers and tutors find a different use. Because the educational objective is STEM and the operation is entirely manual, there is nothing to charge, nothing to pair with an app, and nothing to go flat halfway through a lesson. The kit is listed for one builder, so a class set means one kit per student or per small group.
There is also the adult audience nobody admits to. Plenty of parents start the build "to help" and end up doing most of it. Treat that as a shared evening rather than a failure. The best build project is the one that pulls two people to the same table.
What to look for when choosing a kit
If you are comparing options, a few things separate a kit worth building from a kit that disappoints.
Piece count tells you how much project you are getting, but only roughly. Two hundred and three pieces means a real session of work rather than a quick assembly. Build time matters more. Around two hours is the sweet spot for this age group: long enough to feel like an achievement, short enough to finish before interest fades.
Materials decide whether the finished thing survives. This kit lists ABS and polypropylene for the structural parts, steel for the screws and springs, and TPE for the flexible components. Steel fasteners are a good sign in a mechanical kit, because plastic screw threads strip the first time a child over-tightens them. Springs that are metal rather than moulded plastic keep their return action far longer.
Fit is worth checking too. This hand is adjustable to suit left or right hands, with settings to improve comfort once built. A hand that only fits one orientation halves its usefulness in a family or a classroom, and a hand that pinches gets abandoned regardless of how well it works.
Finally, look at what powers it. Battery-driven kits are fine, but they add failure points and they hide the mechanism behind a motor. A manual hydraulic kit keeps the cause and effect visible. You press, it moves, and you can see every link in the chain. For anyone shopping for the best no battery STEM toy, that transparency is the whole argument.
Getting the build right
Clear a proper table before you start. The 203 pieces need somewhere to live while you work, and a tray or a few shallow bowls for small parts will save a lot of crawling around on the floor. Read the instruction booklet through once before you touch anything. It takes five minutes and prevents the classic mistake of fitting a part in step four that blocks step eleven.
Have scissors and a small screwdriver ready. Trim tubing cleanly and squarely, because a ragged cut makes a poor seal. When you fill the syringes, do it slowly and tap the tubing to float bubbles out. If the finished fingers feel limp, go back to the water: nine times out of ten it is air, not a build error.
Do not over-tighten the screws. Snug is enough. Plastic housings crack under enthusiastic torque, and a cracked housing is harder to fix than a slightly loose screw.
Looking after it
A wipe with a slightly damp cloth handles normal dust and fingerprints. Dry it afterwards so water does not sit around the metal fasteners. Never put the built hand under a tap or into a sink.
If it is going into storage for months, empty the water out of the syringes and tubing and let everything dry first. Standing water in a sealed tube is how you get cloudy, smelly plastic. Keep the hand out of direct sunlight and away from radiators, because warm plastic slowly loses its shape.
If you take the whole thing apart, bag the screws and springs. Small steel parts have a talent for disappearing, and a kit missing three screws is a kit that never gets rebuilt.
The short version
This is a two-hour build that produces something genuinely interesting, and it teaches real mechanics along the way. It needs no batteries, it fits left or right hands, and it is made from materials that take a bit of handling. Ages 10 and up is the right guide, though a younger child with help will often get there.
Buy it if you want a project rather than a toy. Buy it if the child in question likes understanding how things work. And buy it knowing the best part is not the finished hand on the shelf, it is the half hour where they work out why the fingers move at all.