
The complete guide
Choosing a Glitter Keyring Making Kit, A Practical Buyer's Guide
The problem with most kids' craft kits
Plenty of craft boxes promise an afternoon of fun and deliver about eleven minutes. The child opens it, does the one thing it does, looks at the result, and wanders off. The parts that are left over go in a drawer. A month later you throw out a bag of dried-up glue sticks and three unused googly eyes.
What usually goes wrong is one of two things. Either the activity is so simple there is nothing to decide, or it is so fiddly that a seven year old needs an adult doing most of the work. The sweet spot is a project with real choices in it, a short enough build that the first attempt succeeds, and enough repeats in the box that a child can get better at it.
A glitter keyring making kit lands in that sweet spot more often than most. Each charm takes a few minutes. There are eight of them. And the output is something a child can clip onto a bag and carry around, which is a very different outcome from a drawing that ends up on the fridge for a week.
How the shaker charms work
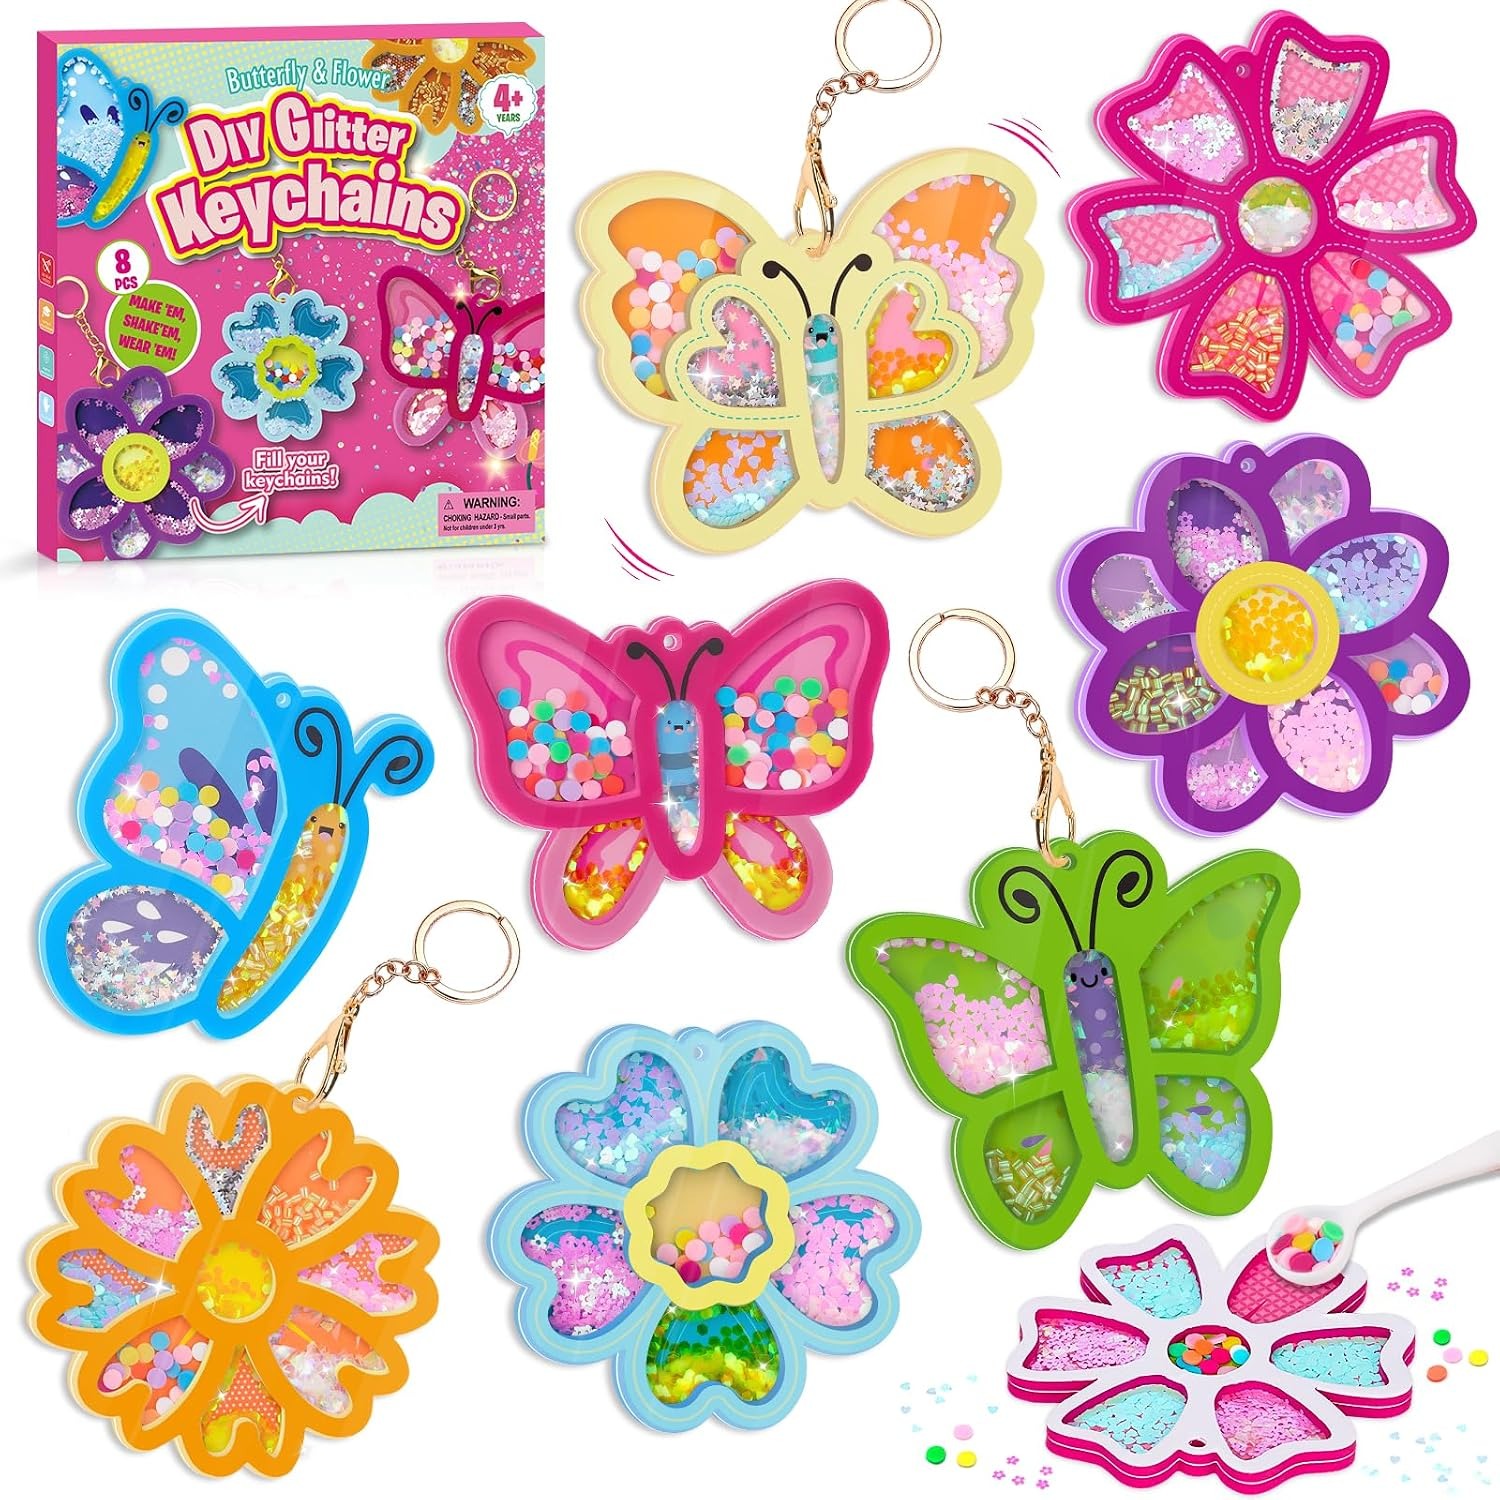
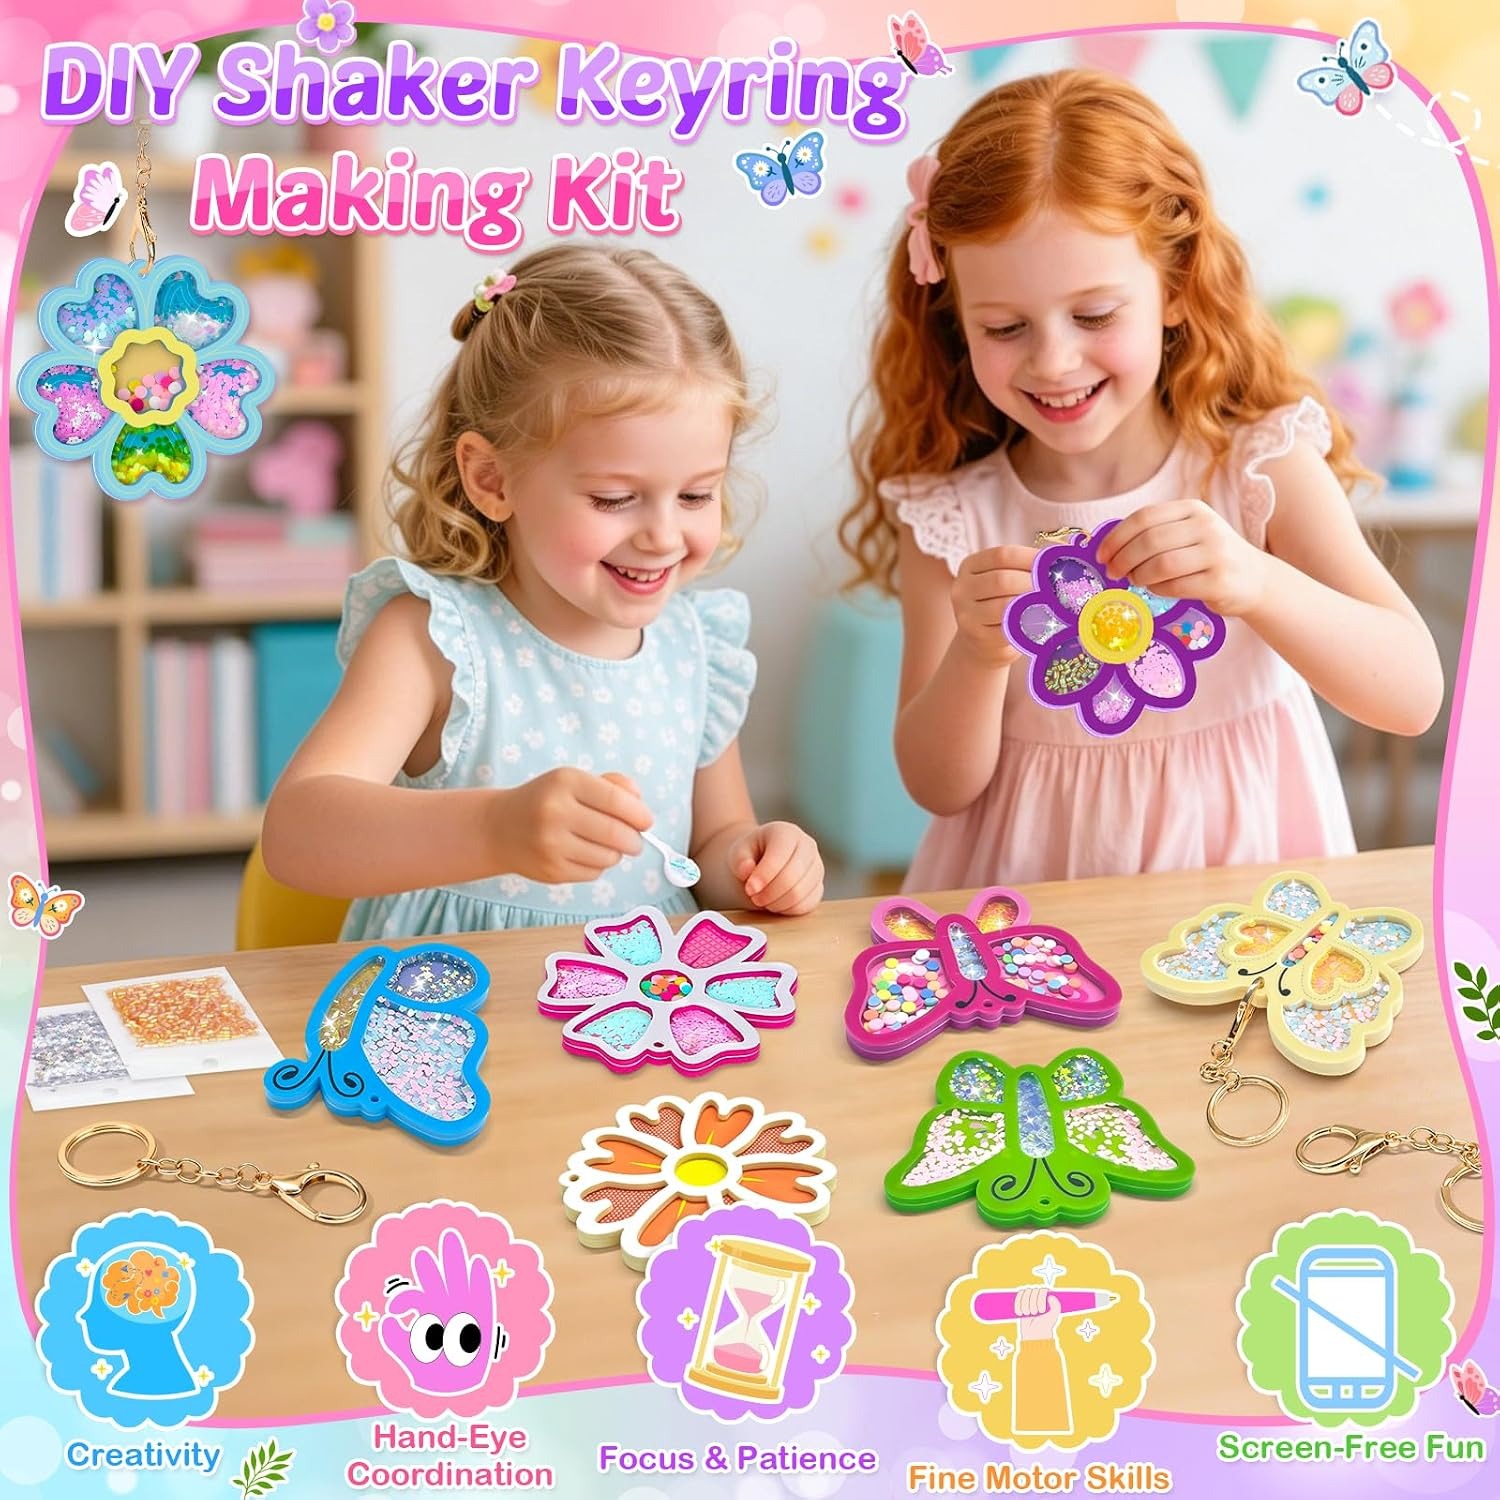
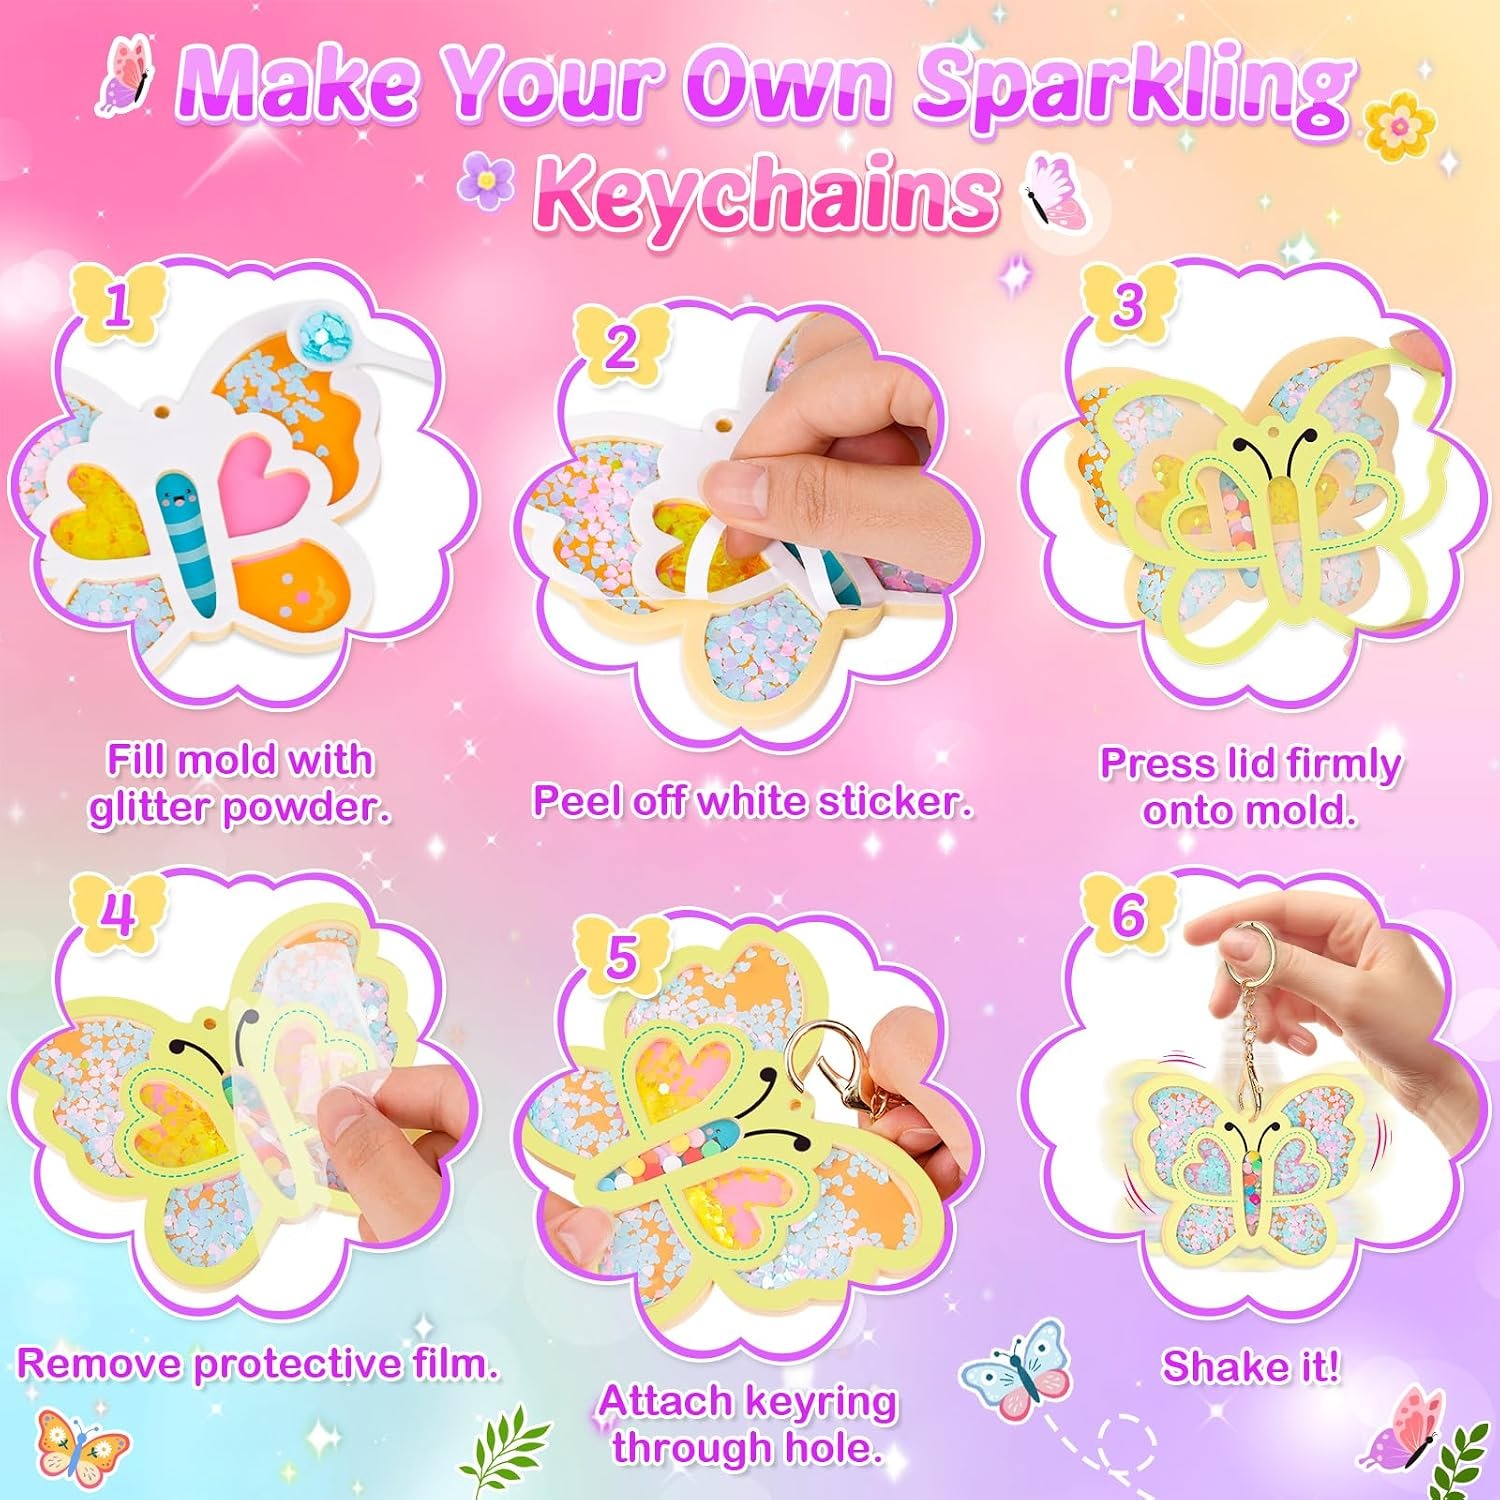
The mechanism is simpler than it looks. Each mould is a shallow shape, butterfly or flower, with a hollow in the middle. The child uses the small spoon to drop glitter into that hollow. Then a clear PET lid goes on top, sealing the glitter inside with a bit of air space so it can still move. Finally the keyring clips onto the loop.
Tip the finished charm and the glitter slides from one end of the shape to the other. Shake it and it swirls. That is the whole trick, and it is remarkably satisfying for the people it is aimed at.
This set includes 8 moulds, 8 PET lids, 8 keyrings, 8 types of glitter, 1 small spoon and 1 instruction sheet. Nothing needs batteries, nothing needs plugging in, nothing needs drying time. The operation mode is listed as manual, which in practice means you can do it on a kitchen table, a camping table or a tray on someone's lap in the back of a car.
Who it actually suits
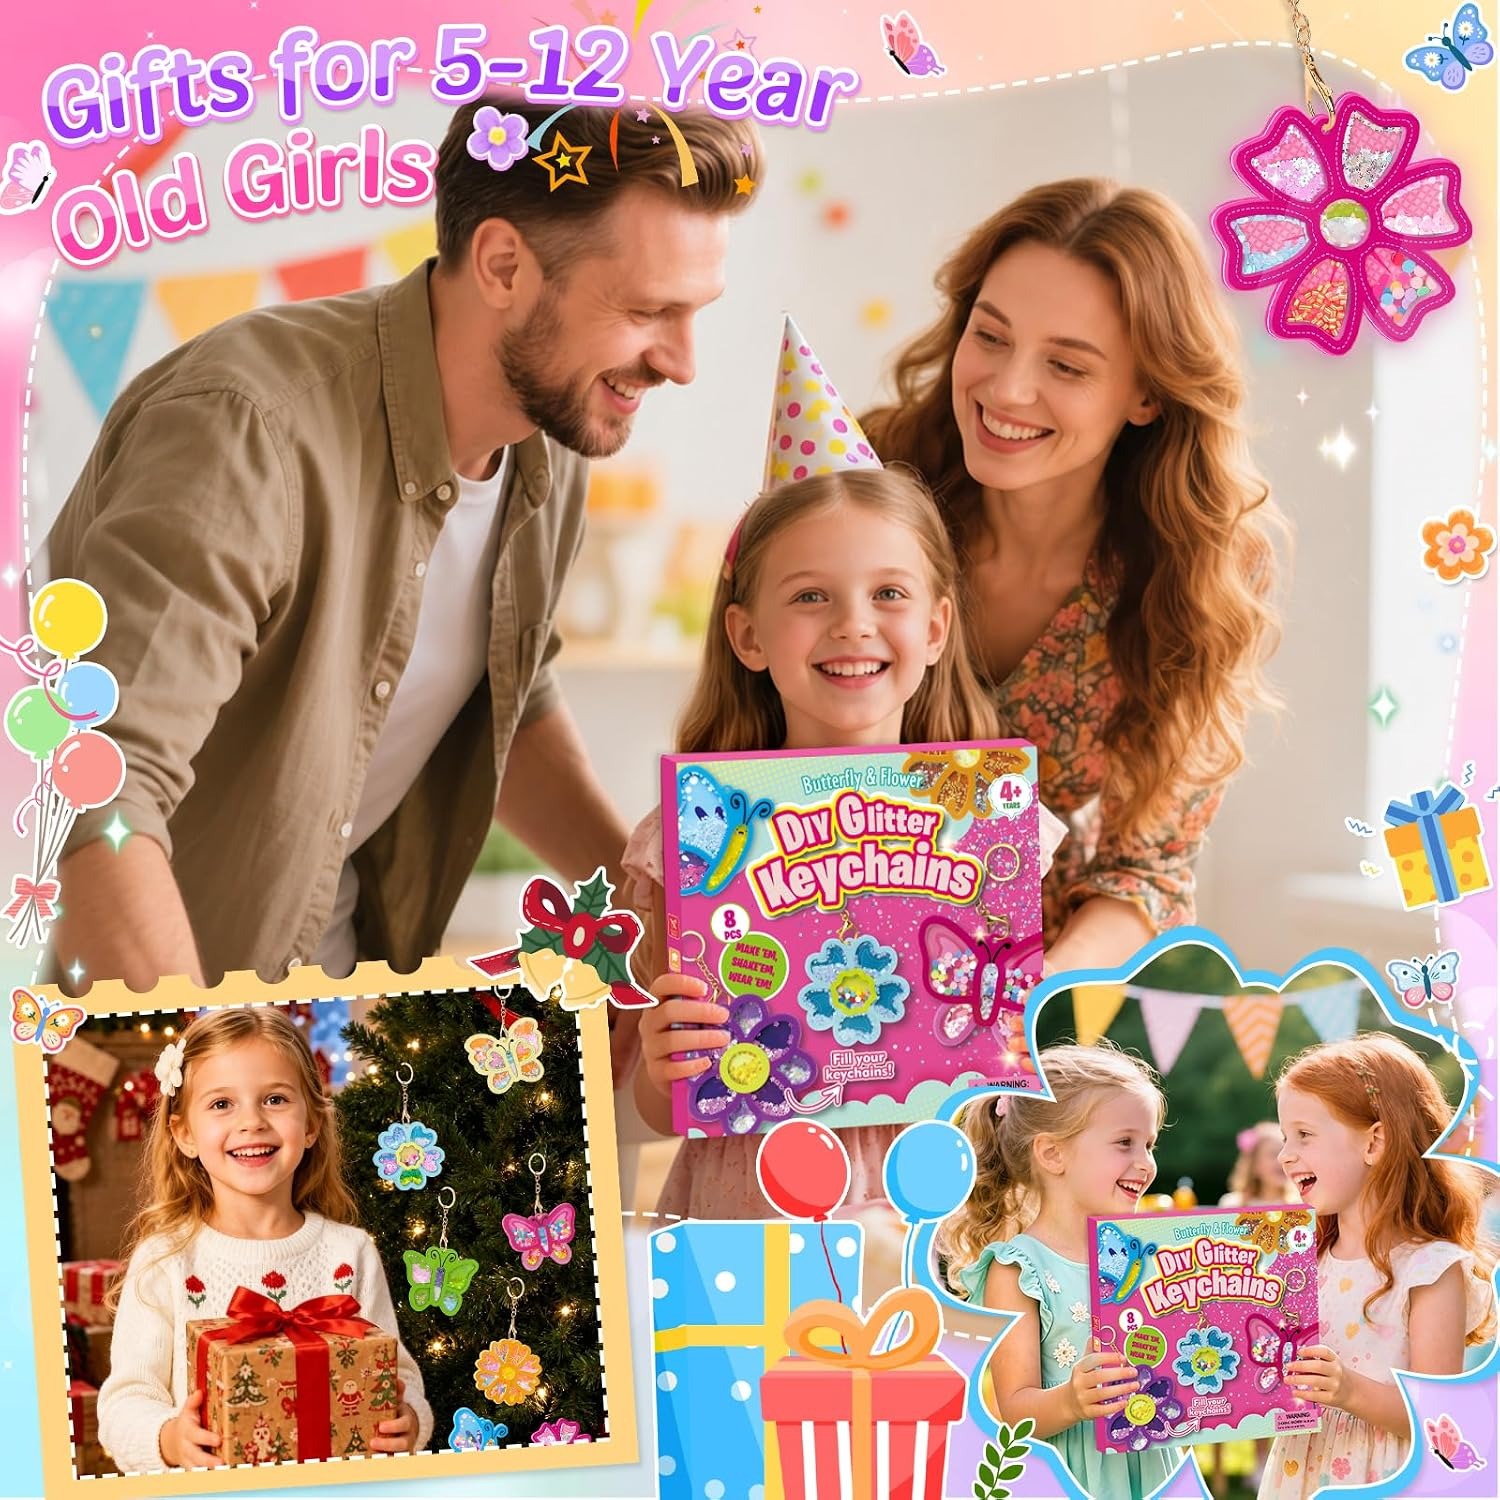
The manufacturer puts the age range at 4 to 12, which is wide for a craft kit. In this case the span is honest, because the same activity changes shape depending on who is doing it.
A four or five year old is mostly practising the physical steps. Getting the spoon into the mould without a landslide of glitter. Pressing the lid down evenly. Threading the ring. An adult will be hovering, and that is fine, because the hovering is short and the child feels like they did it.
A seven or eight year old starts making decisions. They want the pink one and the blue one layered. They want to know what happens if two colours go in together. They will often redo a charm they are not happy with, which is the first sign of a child developing taste.
By ten or eleven, the interest shifts again. Older kids tend to plan a set, one charm per friend, or match the colours to a particular bag. They work through the box without help and finish faster than you expect. For this group it is worth setting the expectation that eight is the total, because they will want more.
Boys and girls both use it. The product's own age description lists boys and girls. Whether a particular child takes to it comes down to how they feel about butterflies and flowers, which is the theme here, rather than anything else.
What you are really paying for in a craft kit
When comparing one keyring craft kit against another, four things matter more than the picture on the box.
First, the number of finished pieces. Eight is generous. A lot of kits in this bracket give you three or four, and children burn through those in twenty minutes.
Second, the number of colour options. Eight glitter types means a child can produce eight visibly different charms, or blend them for even more variety. A kit with two colours produces two results and a bored child.
Third, whether the activity needs anything extra. This one does not. No glue, no scissors, no heat, no resin, no curing time. Everything needed is in the box, which matters enormously if you are buying it as a gift for someone else's child.
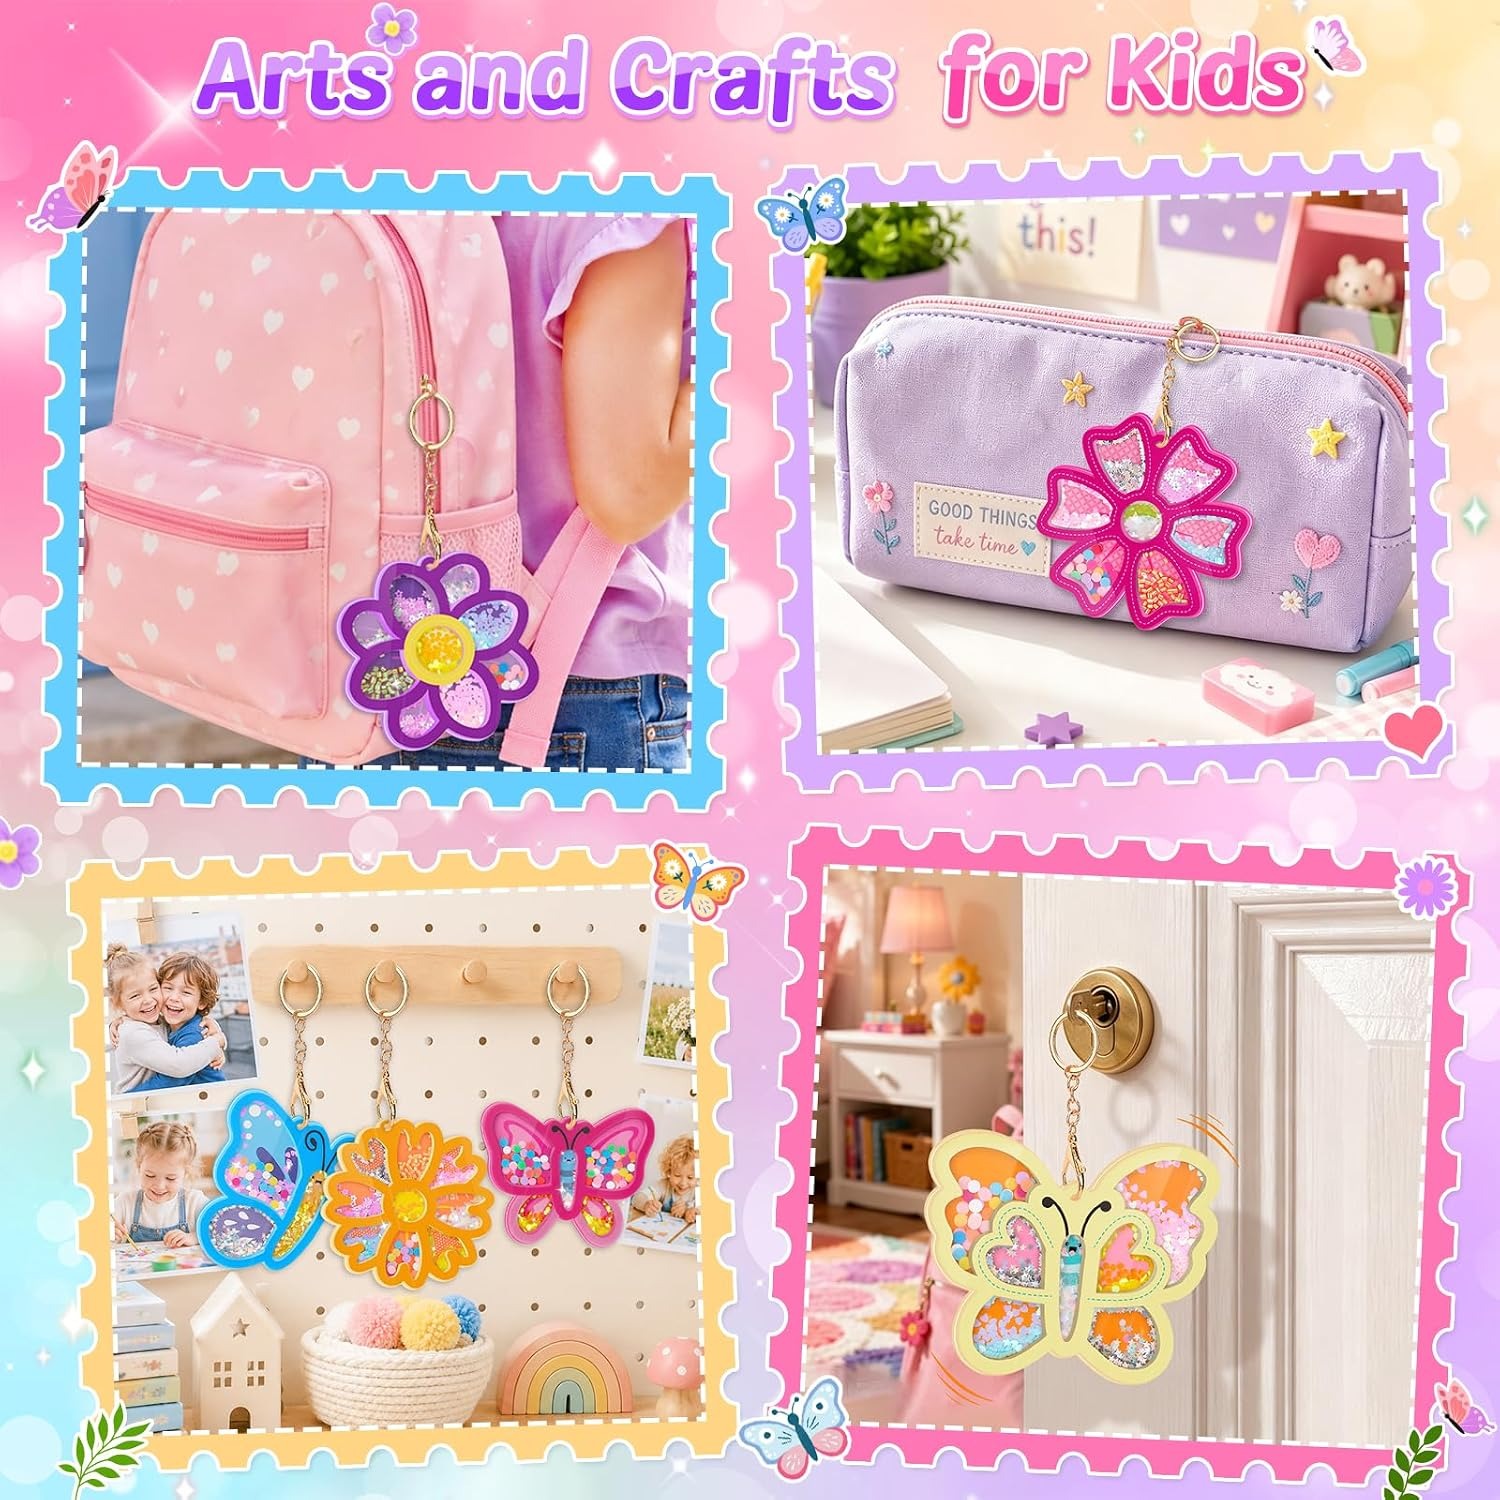
Fourth, whether the result is usable. A charm that clips onto a backpack gets carried around and shown off. A craft that produces a flat picture competes with every other flat picture in the house. This is probably the single biggest reason the best DIY keychain kit projects hold a child's attention longer than painting sets.
Setting up so the glitter does not win
Glitter travels. Everyone knows this. A few minutes of preparation saves a long conversation with the vacuum cleaner.
Put down a baking tray, a shallow box lid or a large sheet of paper with the edges folded up. Work inside that boundary. When glitter spills, and it will, it stays in the tray and tips straight back into the pot.
Do it away from carpet if you can. A hard floor can be swept. A rug cannot, not properly.
Hand out one colour at a time to younger children rather than opening all eight pots at once. It slows the pace slightly but it cuts spills dramatically, and it stops colours getting cross-contaminated in the pots.
Have a damp cloth nearby for hands. Glitter on fingers transfers to faces, doorframes and the dog. A quick wipe between charms keeps it contained.
Looking after the finished charms
These are decorative accessories, not hardware. Treat them gently and they last a long time.
Keep them dry. The lid seals the glitter in for shaking, but there is no waterproof rating given for the product, so a washing machine cycle or a soaking in the bath is asking for trouble. If a charm gets marked, wipe the outside with a dry or just-damp cloth and let it dry before clipping it back on.
Keep them out of direct heat. Leaving plastic on a sunny windowsill or a radiator over a summer is never a good idea.
Check the keyring clip occasionally. Split rings can work loose over months of being clipped and unclipped from a school bag, and it is easier to re-close one than to find a charm that fell off at the bus stop.
For leftover glitter, seal the pots and store them upright. If you buy a second kit later, mixed leftovers make good blended colours for a new round.
Using it as a gift
A few practical notes if this is going in a gift bag.
The box measures 22.5 x 22.5 x 2.3 cm, so it is slim. It wraps easily and fits in a backpack or a suitcase for a trip to see grandparents.
Because nothing extra is needed, you are not leaving the recipient's parents with a shopping list. That is worth more than it sounds when the gift goes to another household.
The 4 to 12 range makes it a reasonable choice when you are buying for a child whose exact age you have half-forgotten. It is one of the more forgiving birthday craft gifts for kids for that reason.
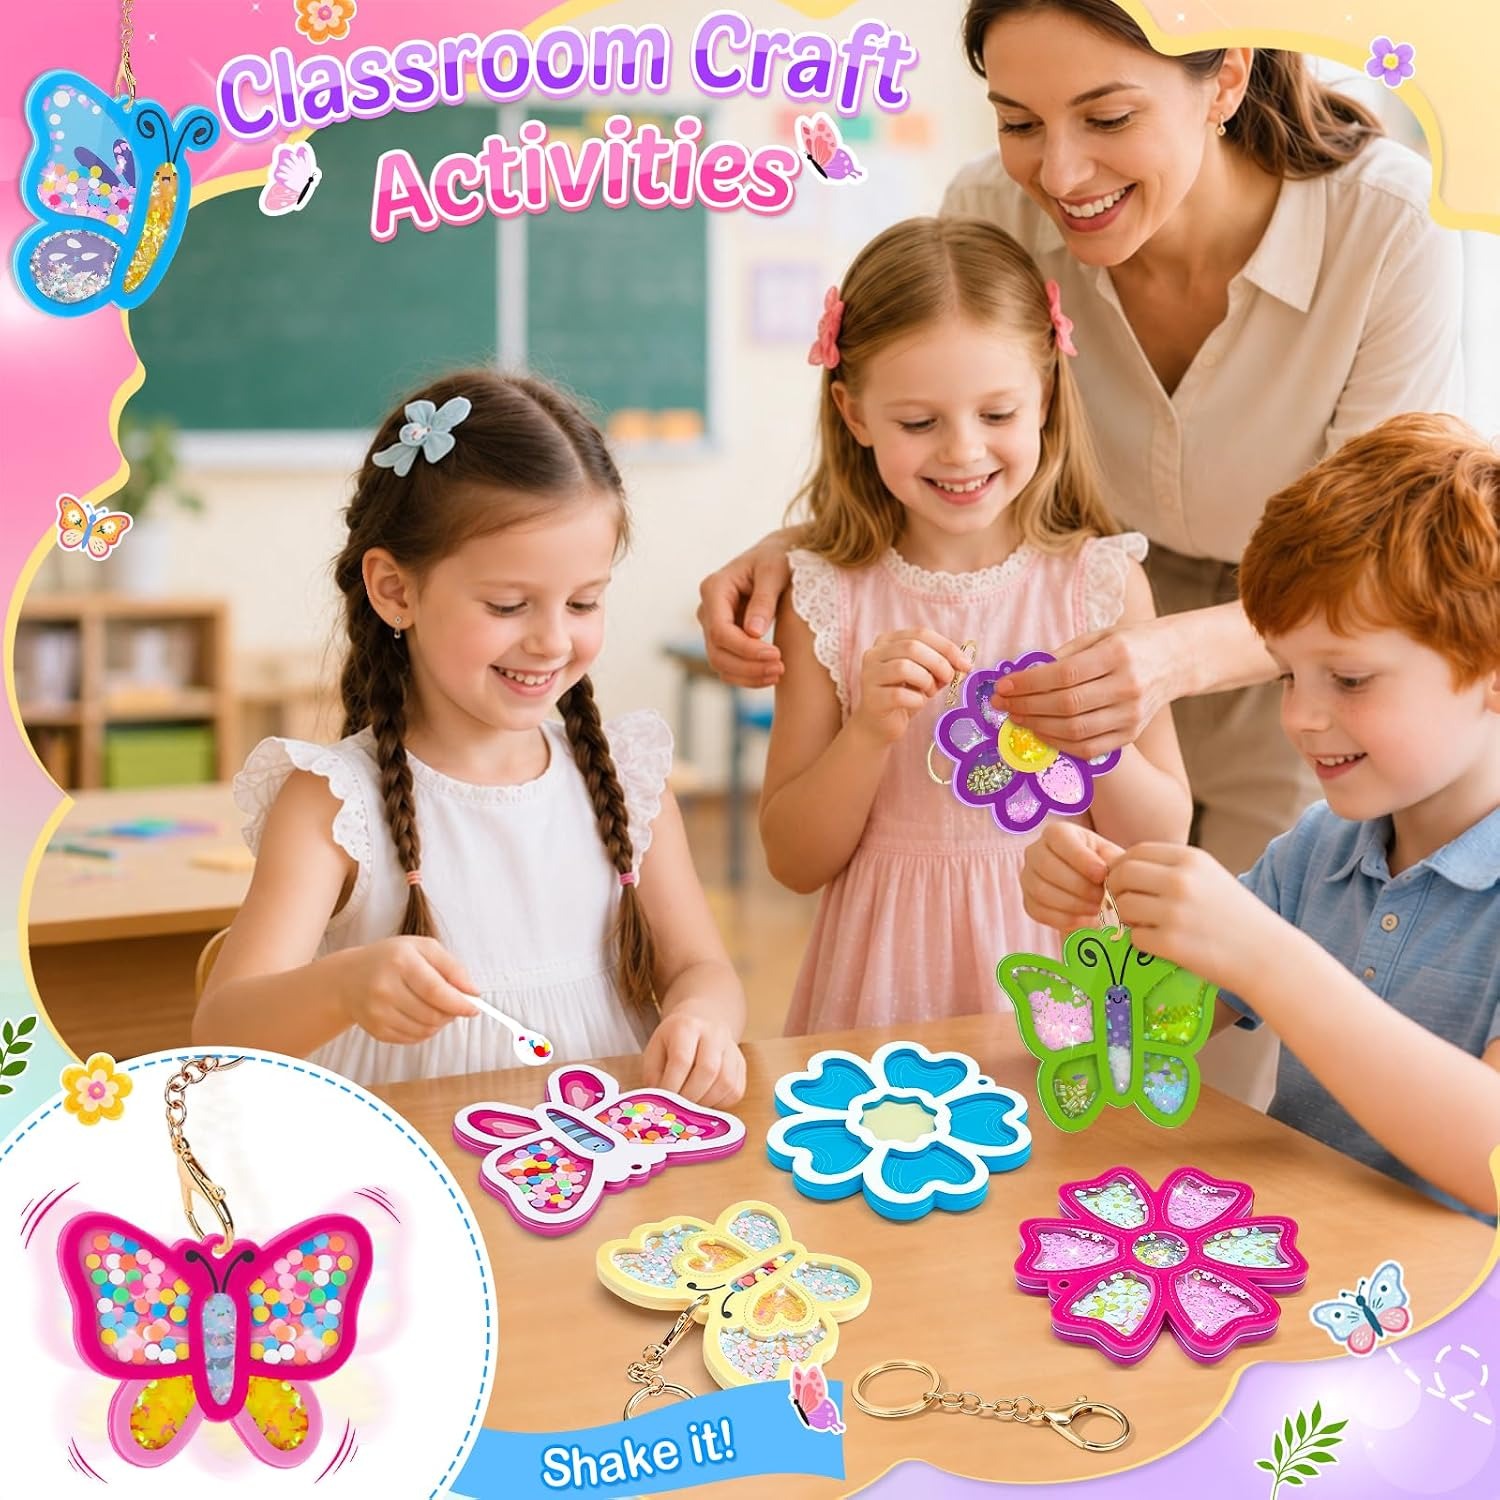
If you are buying for a party, one kit is better used as a shared table activity than split into eight favours, since the spoon and glitter are shared resources. Each child goes home with the charm they made, which is a better party bag than most party bags.
The short version
This is a complete, self-contained craft set that makes eight glitter shaker keyrings in butterfly and flower shapes. Everything needed is included, nothing needs power or heat, and the finished charms are wearable rather than destined for a drawer.
It suits a broad age band because the task adjusts to the child, from careful spoon practice at four to planned colour sets at eleven. Lay down a tray before you start, keep the finished charms dry, and the whole thing holds up well.
If you want a screen-free craft activity that produces something a child will actually carry around, this is a sensible buy.