
The complete guide
How to Choose and Use a DIY Kite Making Kit
The problem with most craft kits
Most children's craft kits end the same way. There is a burst of enthusiasm, twenty minutes of gluing, and then a slightly sticky object that sits on a shelf for a week before quietly going in the bin. The making part was fine. The problem is what happens after.
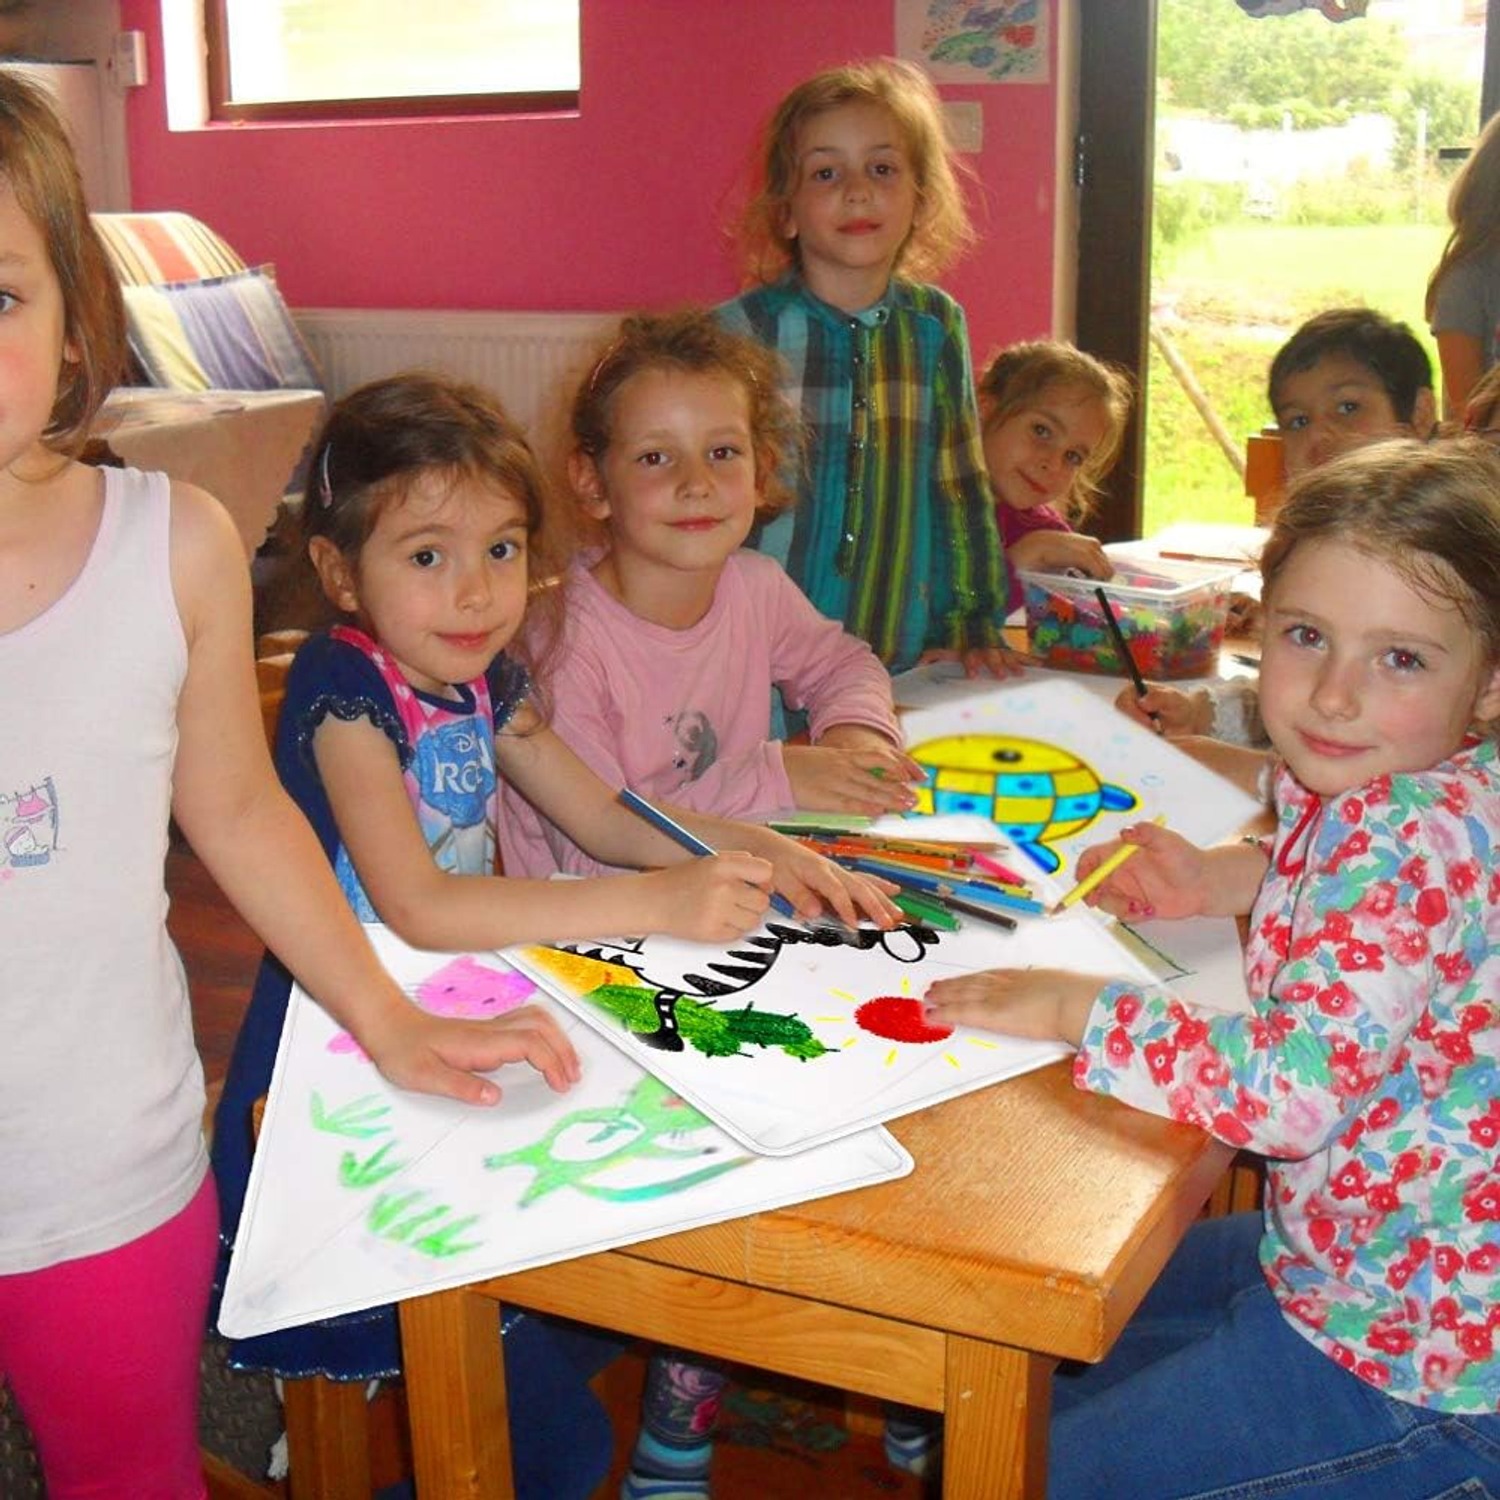
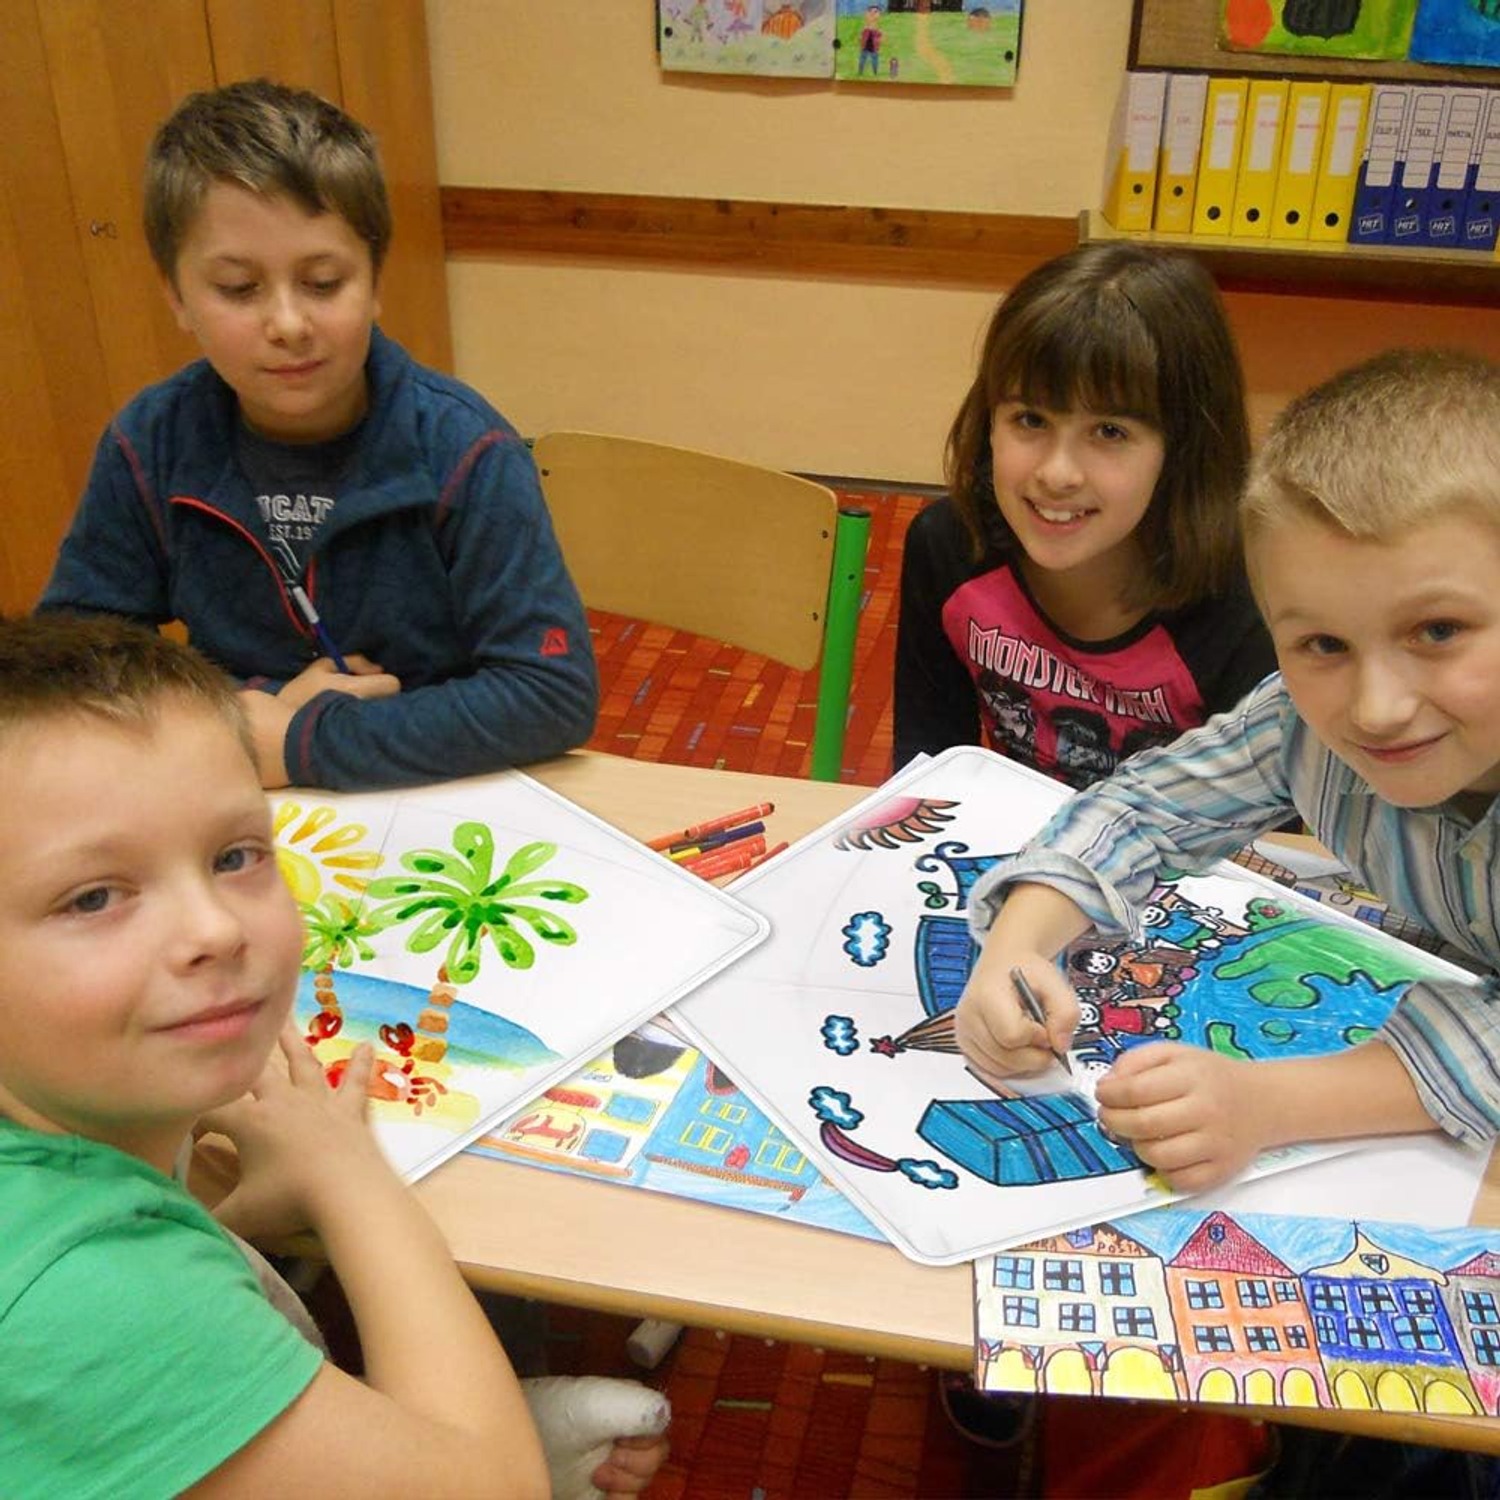
A kite is different because the finished thing has a job. Once the markers are capped, the activity is not over, it has only changed location. The child who spent half an hour drawing a dragon across a polyester sail now has to get that dragon into the air, which means going outside, reading the wind and running about. That second half is the reason a DIY kite making kit holds attention longer than almost any other craft box.
This guide covers what to look for, how the flying side actually works, who the kit suits and how to look after the kites so they last past the first outing.
What this kit is
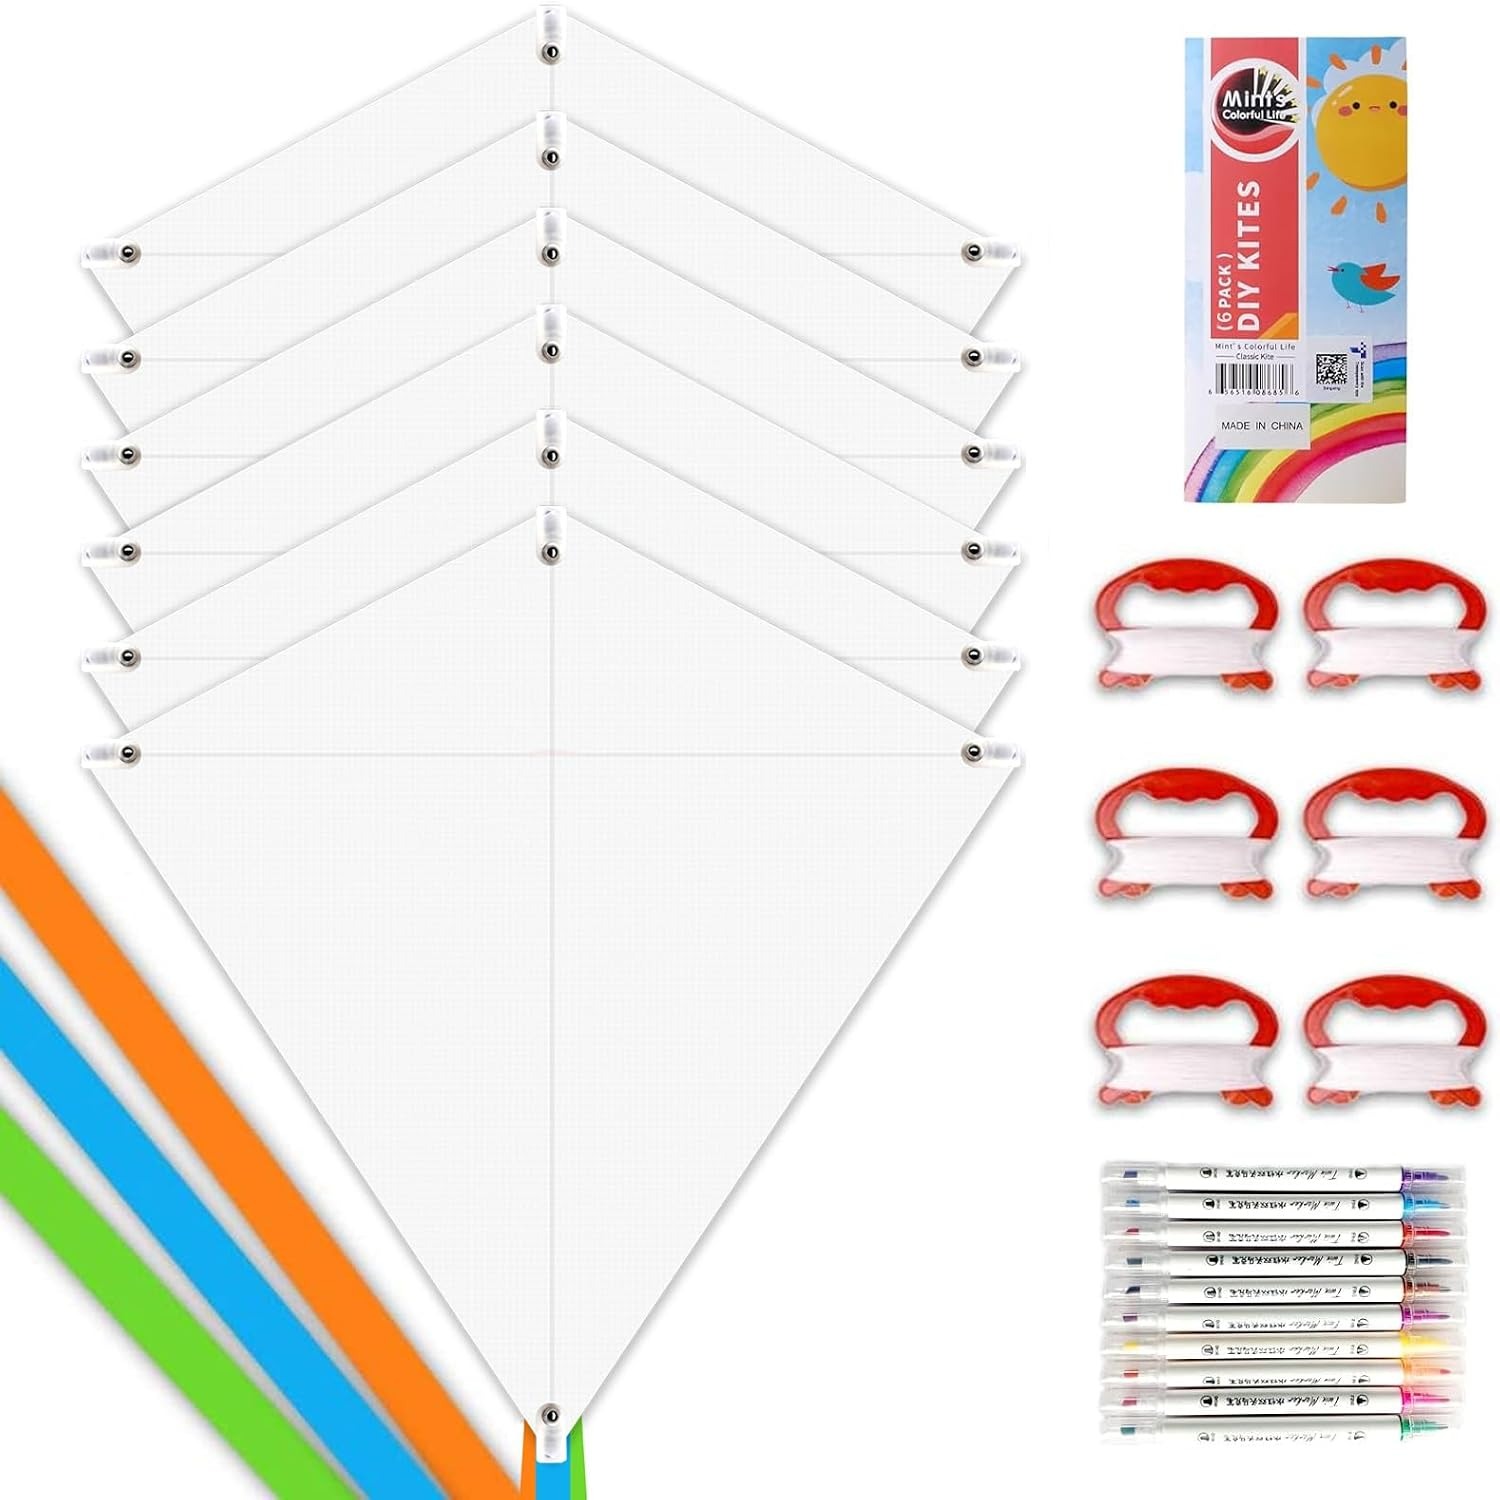
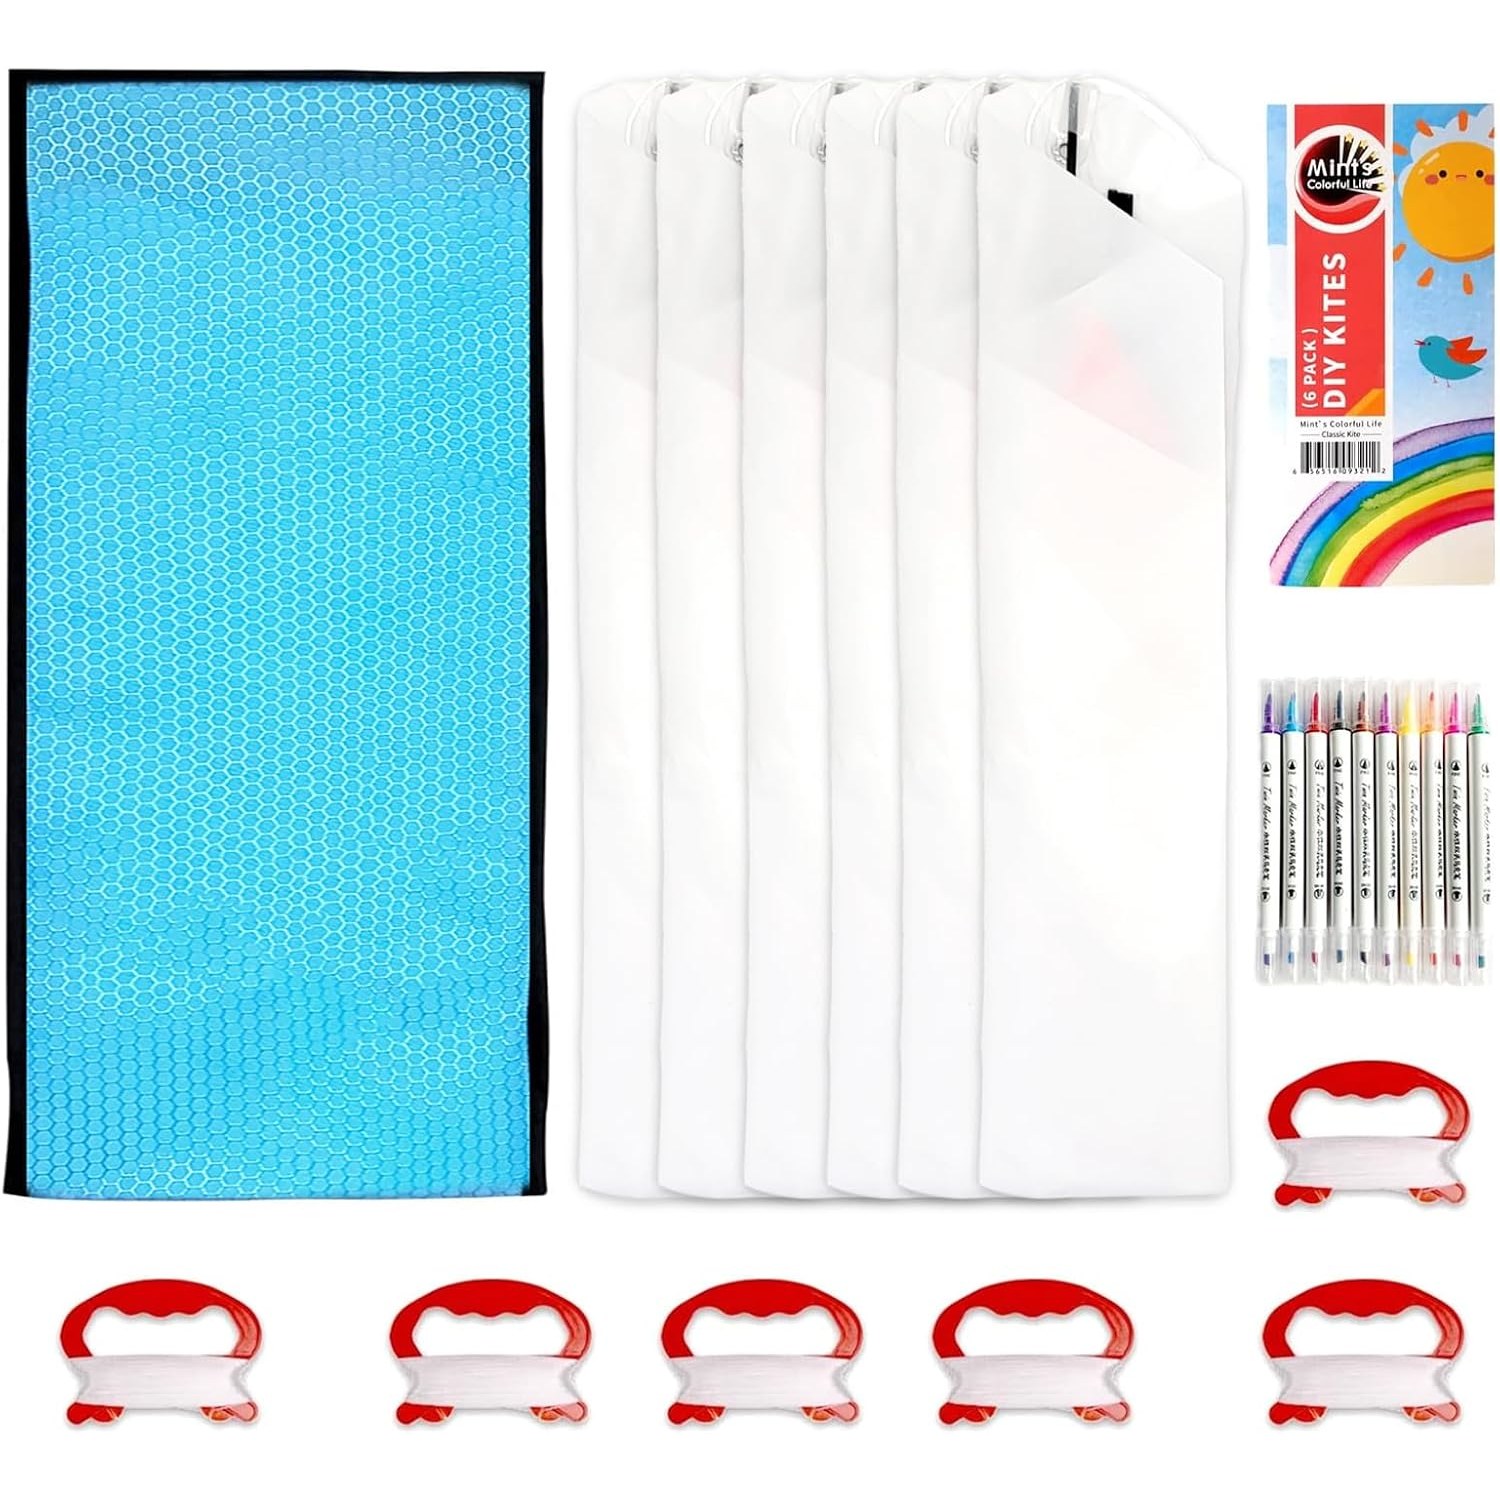
The set is six blank diamond kites, each 25 inches across, made from polyester sail fabric. Twelve markers come in the box along with long ribbon tails. The flat pack measures 63.5 by 63.5 by 0.3 cm and the whole thing weighs 0.3 kg.
The diamond shape is the oldest and most forgiving kite profile there is. It wants to fly. You do not need a technical wind window or a special launch technique, which is exactly what you want when a seven year old is holding the line and expecting results in the first ninety seconds.
Six kites is a deliberate number. One is a toy. Six is an event. It covers a party table, a classroom group, a set of cousins at a holiday house, or a family with spares for the kite that inevitably finds a tree.
How a diamond kite actually flies
Worth knowing, because it helps you fix problems on the day.
A kite stays up because the sail sits at an angle to the oncoming wind. Air pushes against the sail, and the line stops the kite from simply being blown away. The result is lift. The bridle, the short length of line attached to the front of the kite, sets that angle. Too flat and the kite will not climb. Too steep and it will stall and fall.
The tail is not decoration, even though the ribbon ones look good. A tail adds drag at the back, which keeps the nose pointing into the wind. If a kite is spinning or diving, nine times out of ten the fix is more tail, not more running.
Speaking of running, you do not need to. A common mistake is to sprint along the beach dragging the kite behind. All that does is tyre you out. Stand with your back to the wind, have a helper hold the kite up about twenty metres downwind, and let the line out steadily as the wind takes it. If the breeze is right, the kite does the work.
Who it suits
Families are the obvious group. The kit gives you an indoor activity for the morning and an outdoor one for the afternoon, which is useful on a holiday day when the plan has fallen apart.
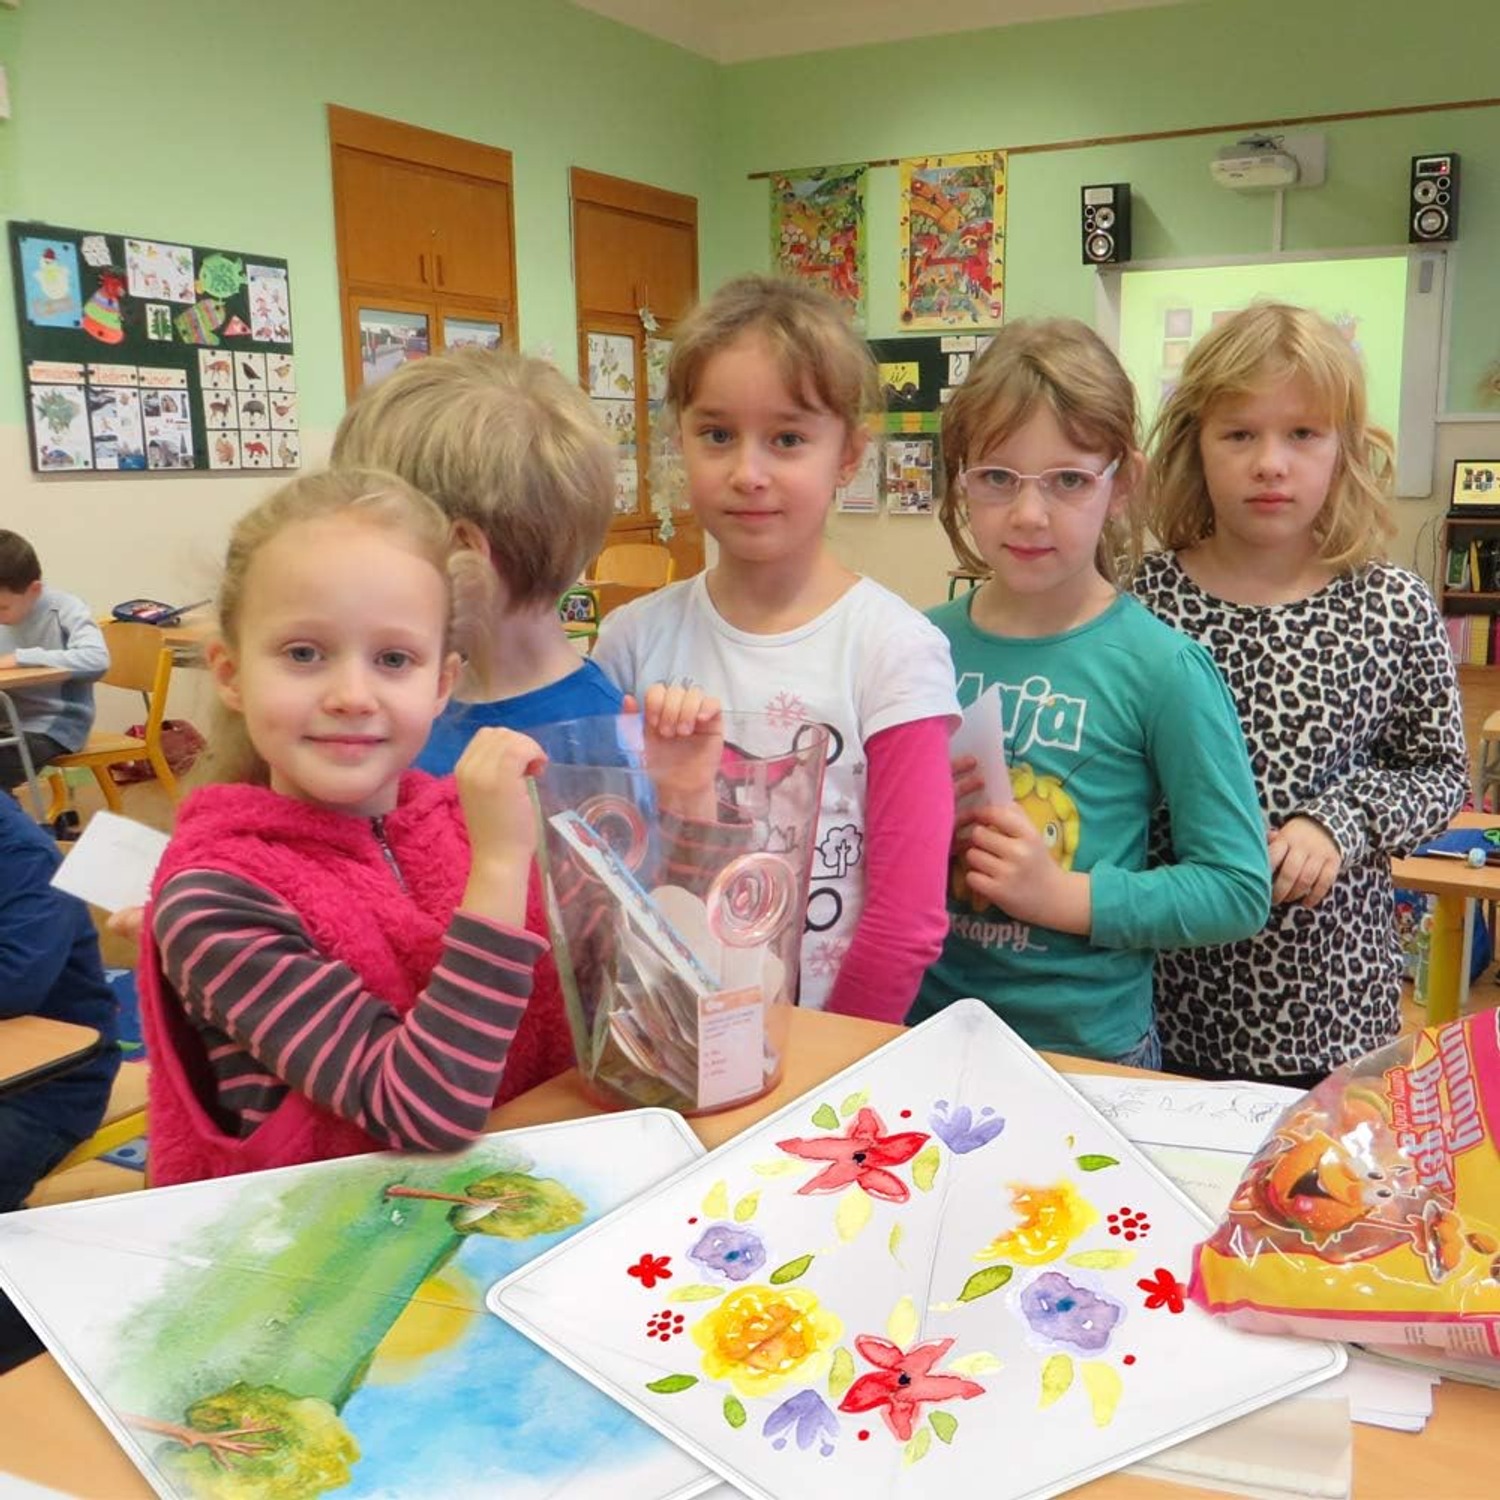
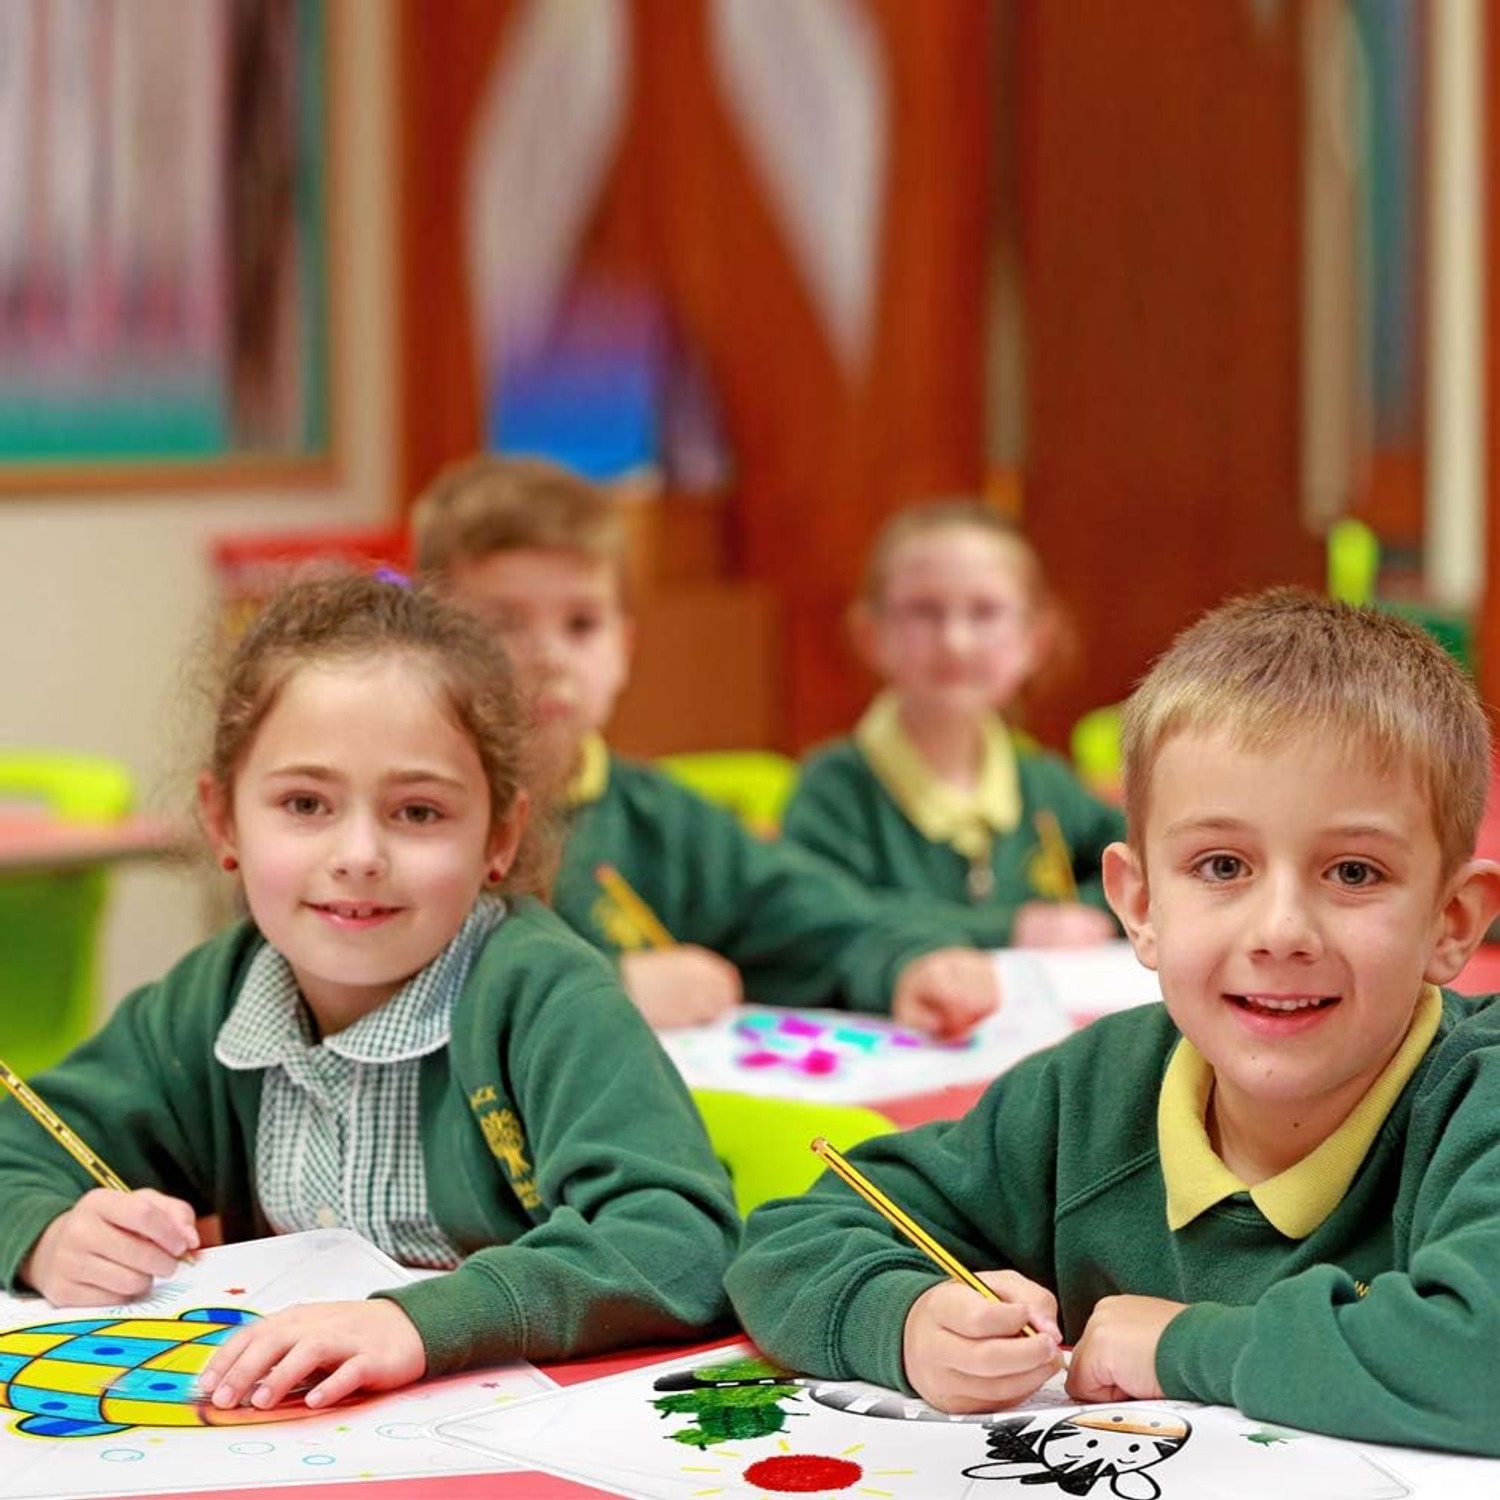
Teachers use blank kites more than you might expect. There is a neat crossover between art and basic physics, and the result is something every child in the group takes home. If you are running a whole class you will want more than one pack, but the six pack format splits cleanly into table groups.
Party hosts get two things at once. Children decorate a kite as the activity, then take it home as the party bag item. That is better value than a bag of plastic, and nobody has to pretend to be pleased about a whistle.
Grandparents and anyone looking after children for a day also do well with this. It is low mess, it does not need supervision for every second of the drawing stage, and the outdoor part burns energy.
How to choose between kite kits
A few things separate a kit that works from one that frustrates.
Sail material. Paper kites are cheaper and tear on the first crash. Polyester, as used here, survives being dragged across grass and folded into a bag. If you want the best blank kites to decorate and then actually fly repeatedly, fabric is the way.
Whether the pens are included. Sounds minor. It is not. Fabric that takes marker ink well is not the same as paper, and standard felt tips can bleed or sit too lightly. This kit supplies its own markers, so the medium is matched to the surface.
Size. Twenty five inches is a sensible middle ground. Much smaller and a kite struggles in light wind. Much larger and it pulls hard enough to be awkward for a small child to hold.
Quantity. Buying a single kite for a group of children creates an argument. Buying six creates an afternoon.
Pack size. At 0.3 cm thick and 0.3 kg, this one travels. If you are the sort of person who throws things in the car for a park trip, that matters more than it sounds.
Getting the best out of the decorating session
Lay down newspaper or an old tablecloth, even with markers, because enthusiasm travels past the edge of the kite.
Encourage big, bold shapes over fine detail. A kite is viewed from fifty metres away against a bright sky. Thin lines and tiny faces disappear. Blocks of strong colour, wide stripes, big eyes and simple symbols read beautifully in the air.
Let the ink dry properly before you fold or roll anything. Ten or fifteen minutes is usually enough, longer if a child has laid the colour on thickly.
Write a name in one corner. When six kites are on the ground in a park, this saves a conversation.
On the day
Pick open ground. A park, a playing field, a hillside or a beach. Keep well away from overhead power lines, roads and trees. Power lines are the serious one, and the rule is simple, never fly anywhere near them.
Check the wind before you commit. If leaves are moving and a flag is fluttering steadily, you are in good shape. Dead still air will not lift a kite, and a gusty gale will overpower a child.
Have an adult do the first launch of each kite so you can check the bridle and tail are right. Once one is flying well, the rest usually follow.
Expect crashes. Polyester handles them. Brush off any sand or grass and go again.
Looking after them
Let everything dry fully before it goes in a bag. Damp is what ruins kites, not crashes.
Wipe the sail with a damp cloth if it gets muddy, then air dry. Skip the washing machine entirely, and keep it away from tumble dryers and radiators.
Wind the line properly every single time. Tangled line is the number one reason a kite never gets flown a second time, because the hassle on day two outweighs the fun.
Store flat or loosely rolled, somewhere dry. Check the spars and line for cracks or fraying before each outing. A two minute check saves a ruined afternoon.
Small tears can be patched with clear tape on both sides of the sail. Deal with them early, because the load of flight will spread a tear fast.
The short version
Six blank 25 inch diamond kites, polyester sail, markers and ribbon tails in the box, 0.3 kg total and flat enough for a suitcase. The diamond shape is forgiving, the included markers mean no extra shopping, and six is the right number for a group rather than an individual.
Decorate inside, fly outside, store it dry and wind the line. That is most of it. The rest is finding a windy afternoon and somewhere with a bit of space.